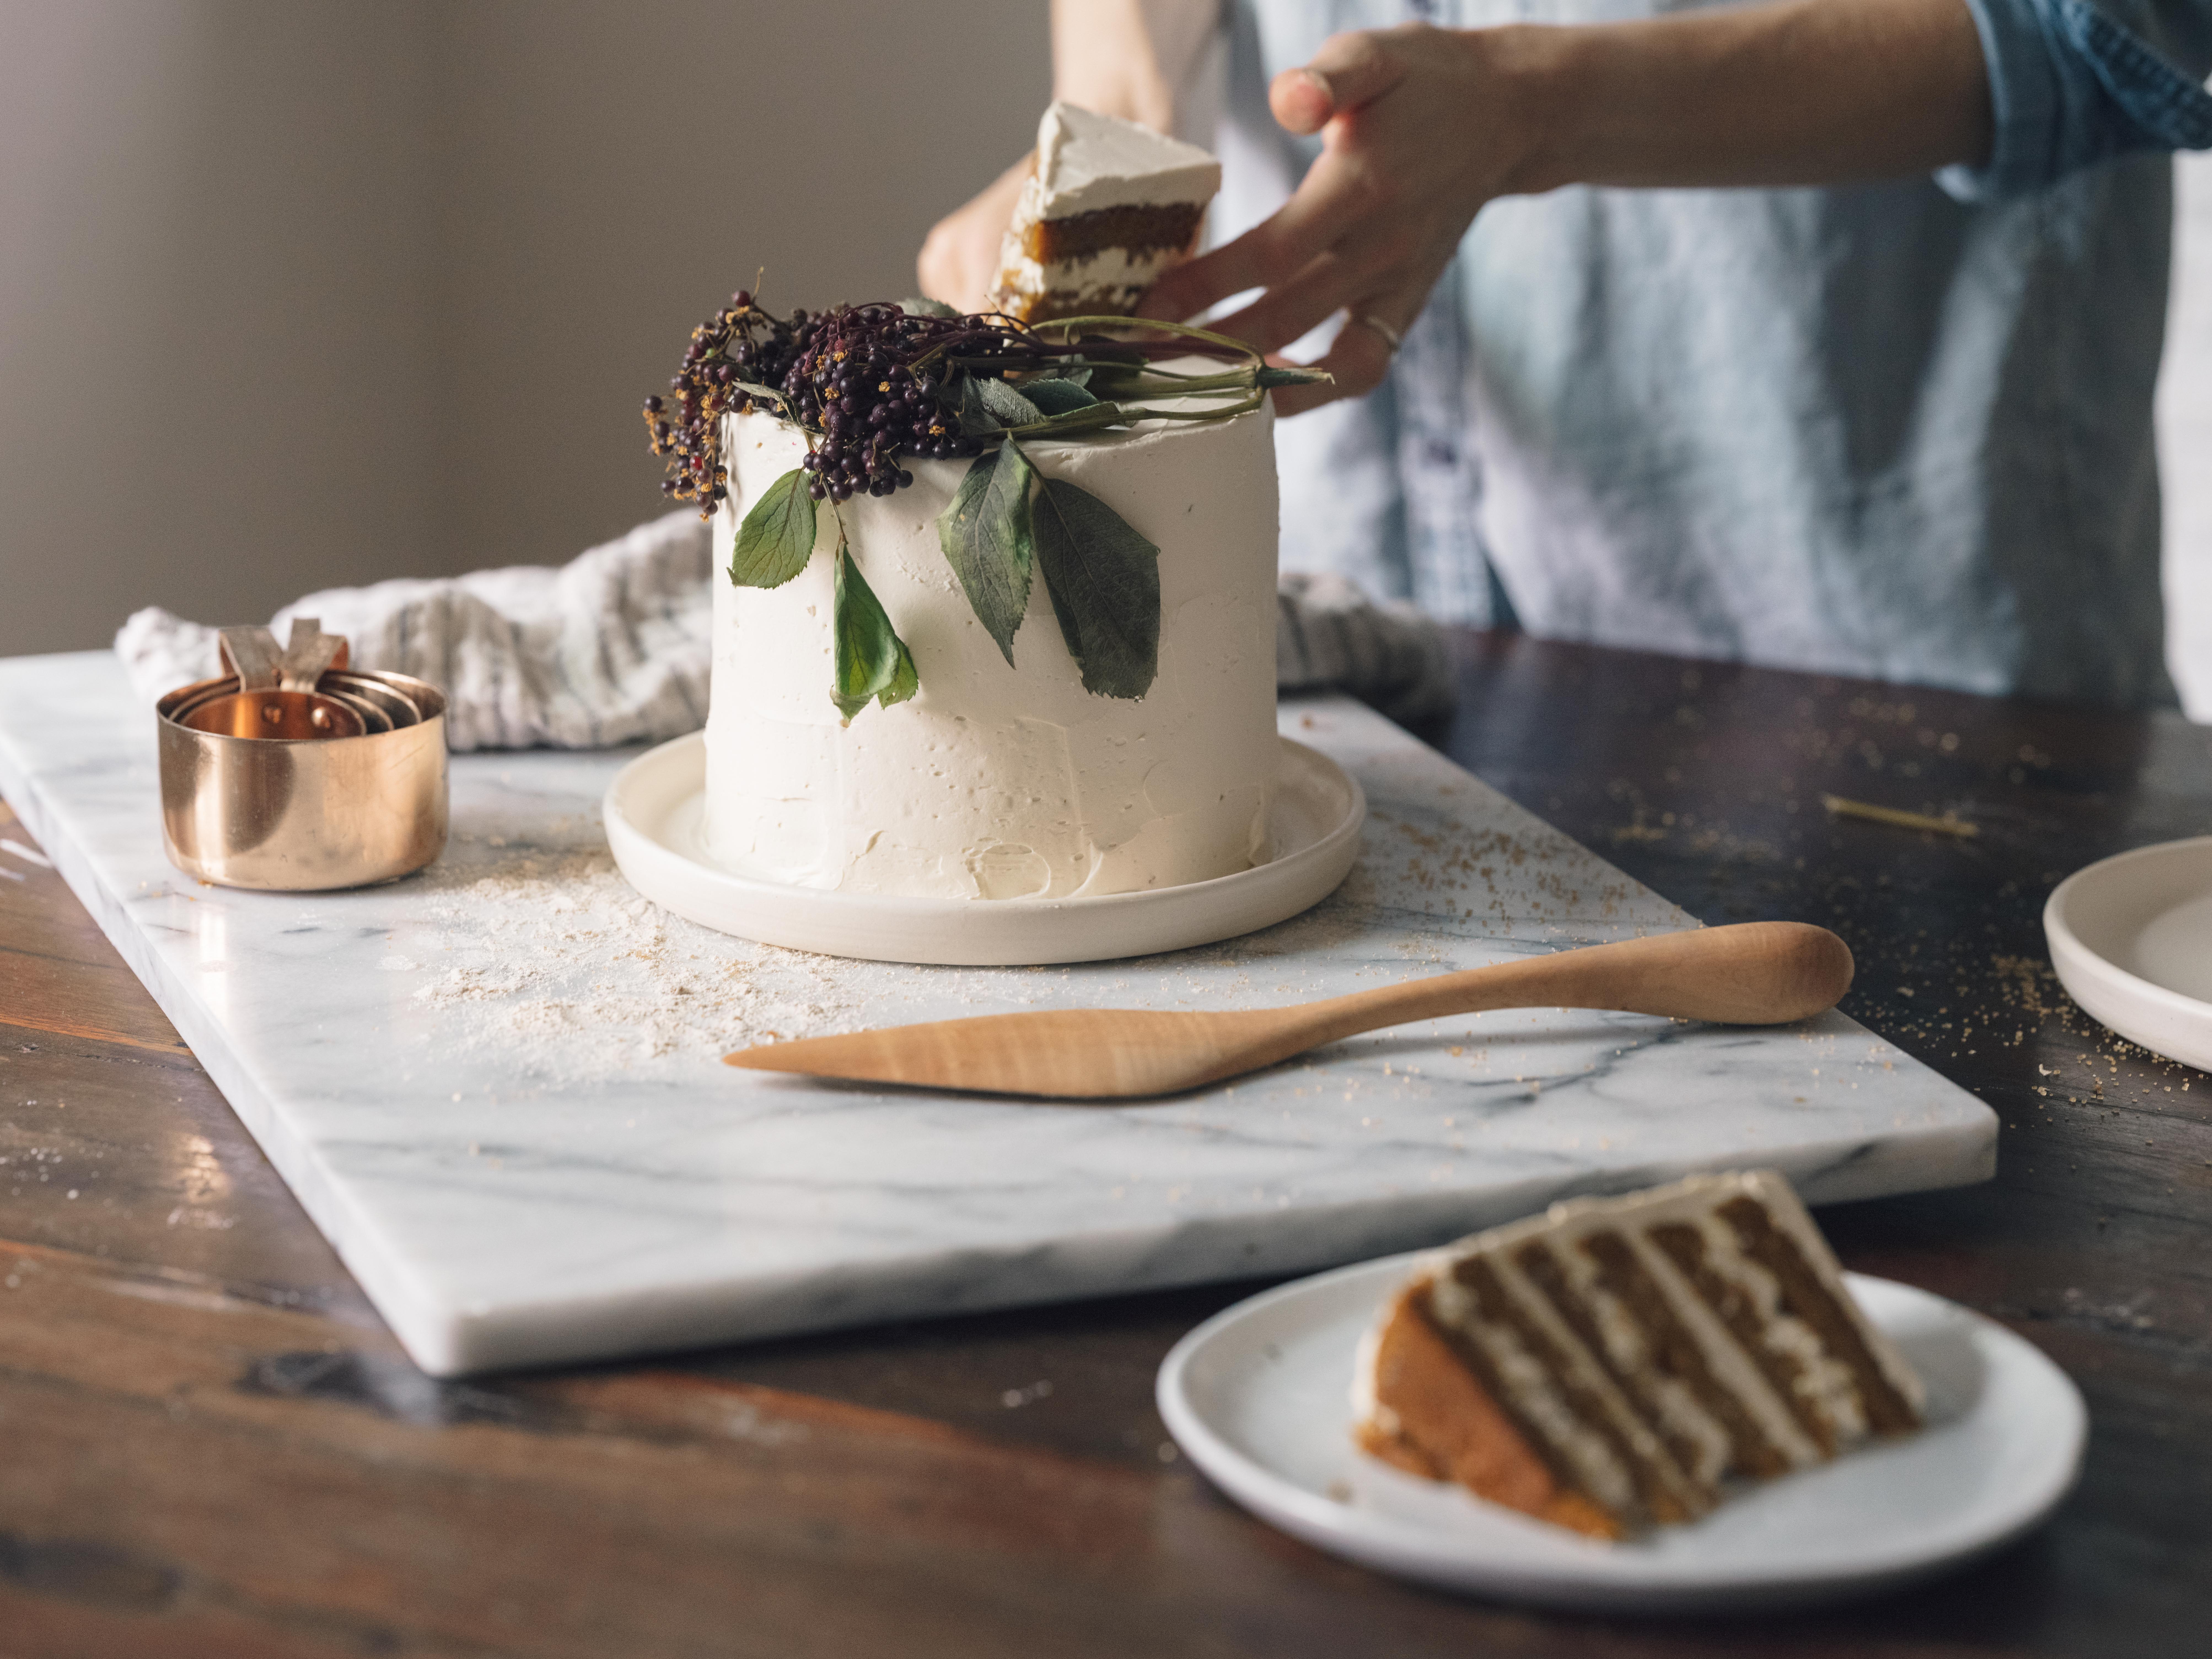
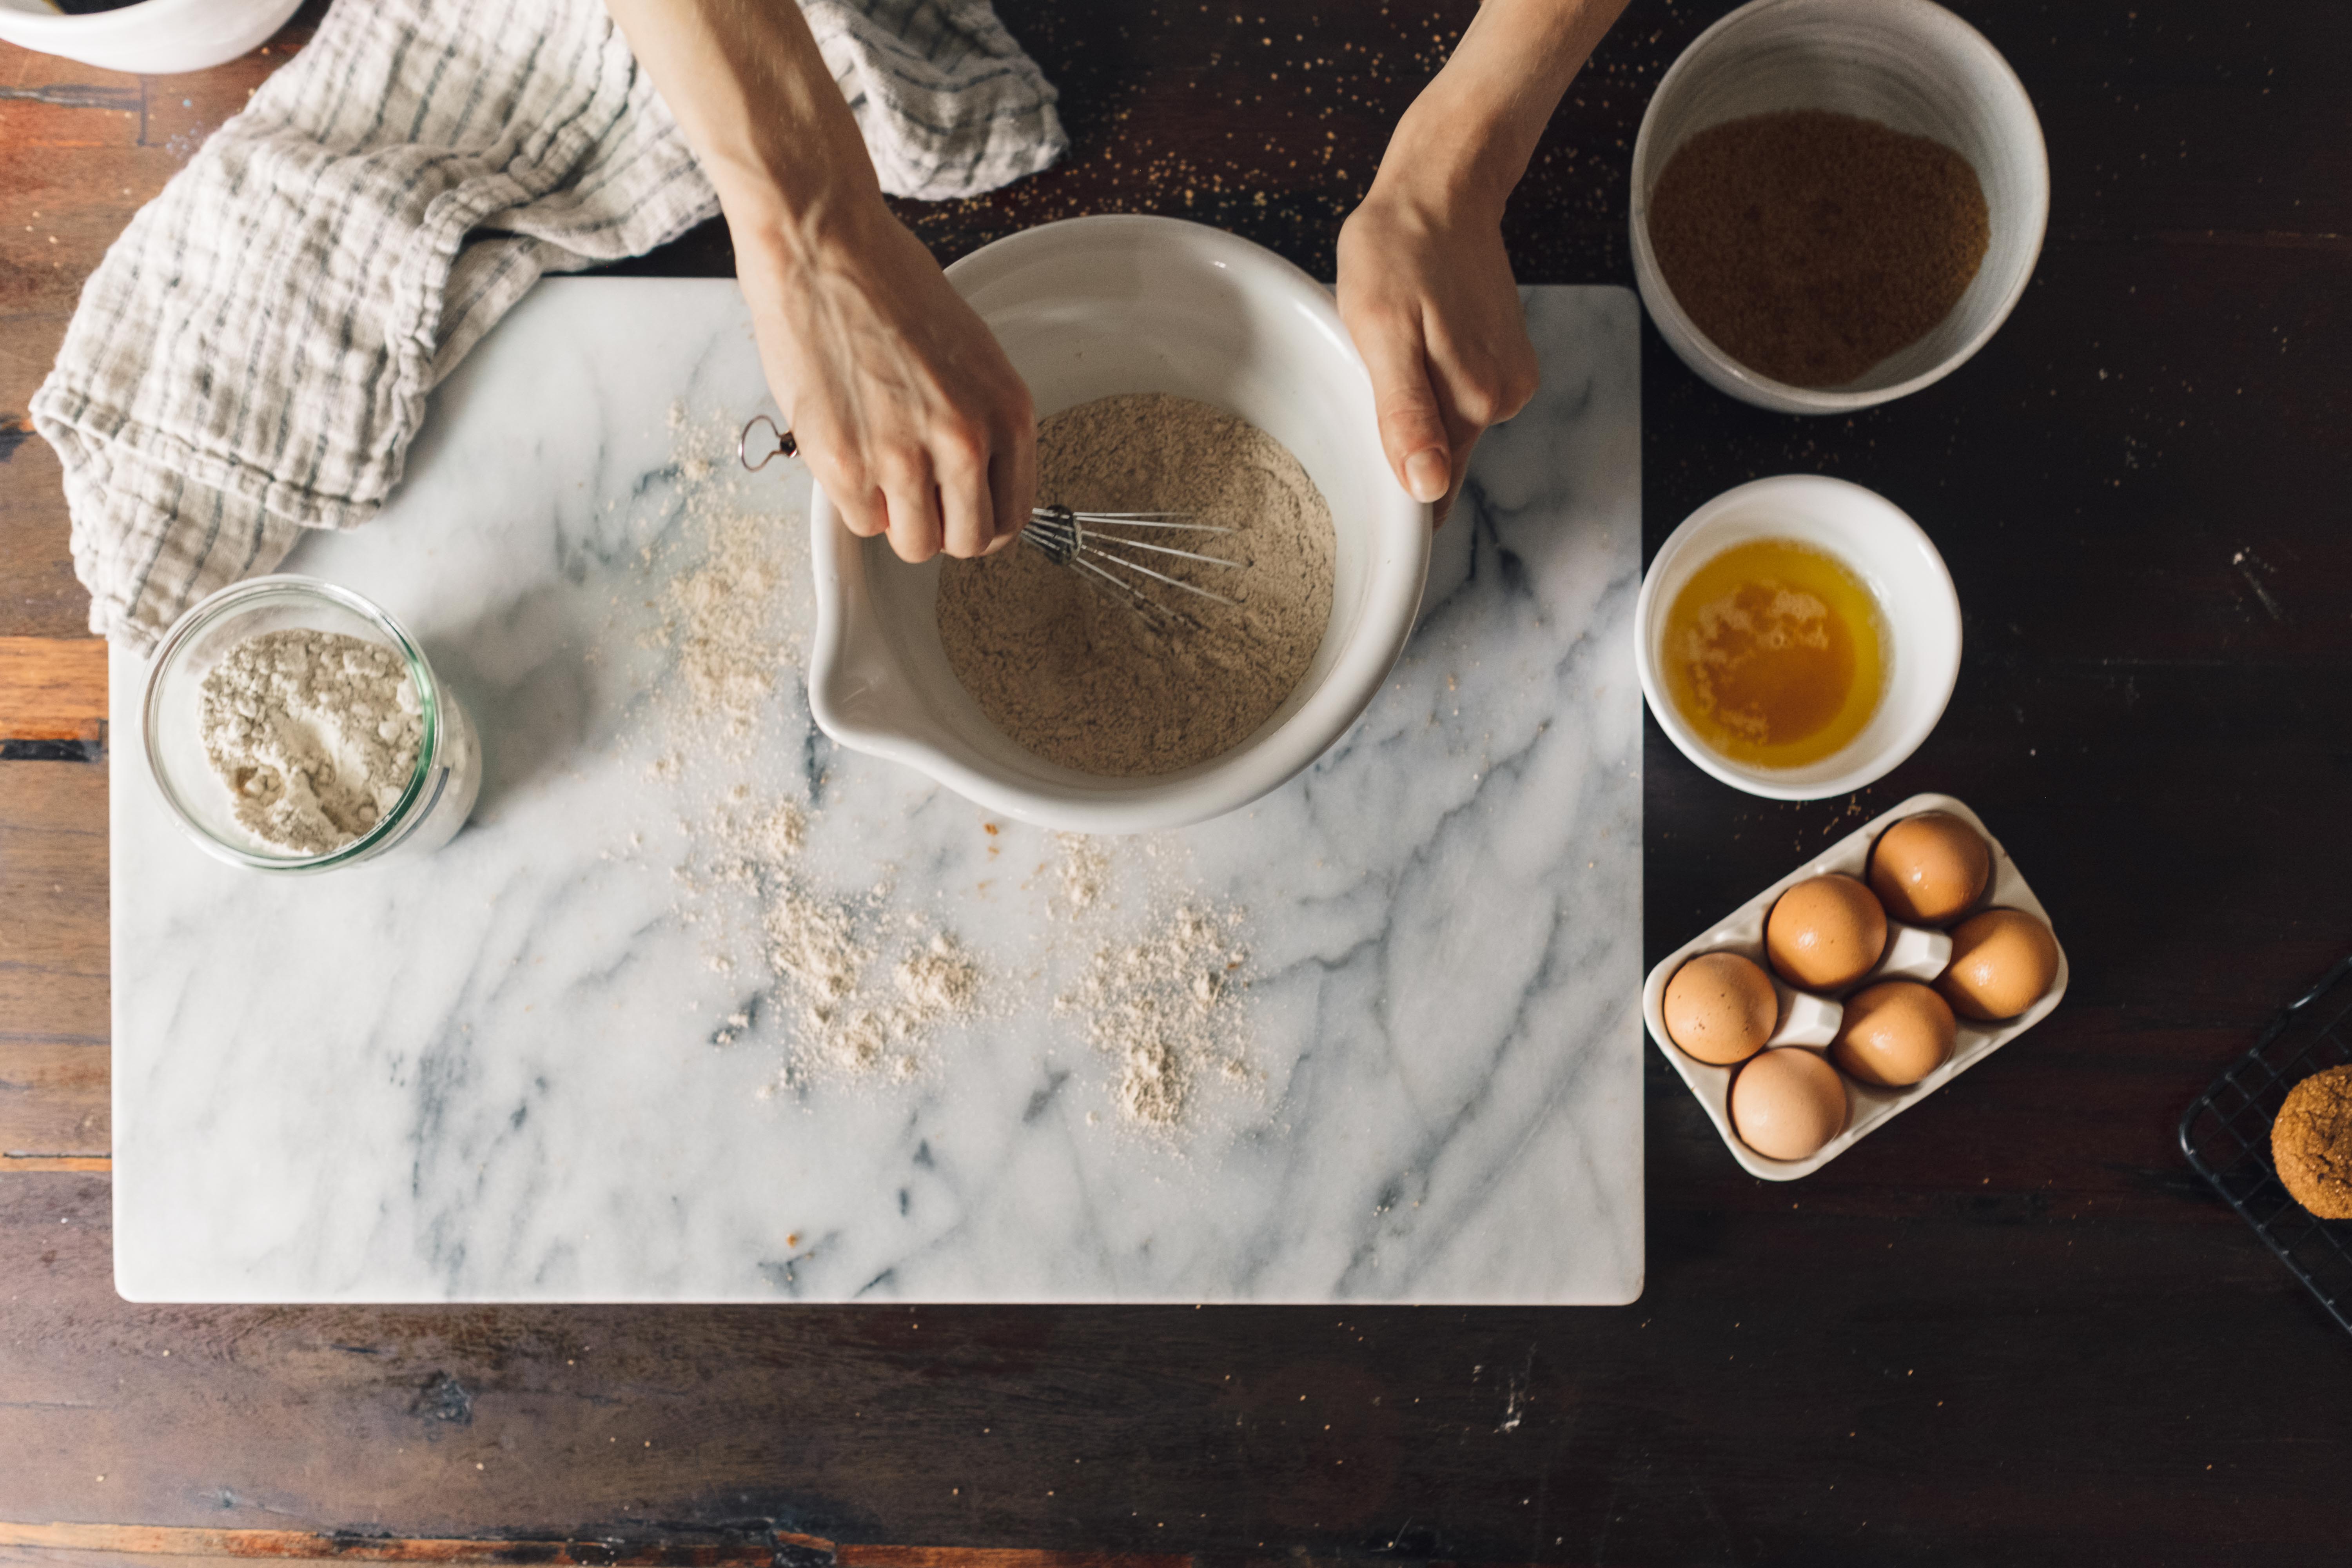
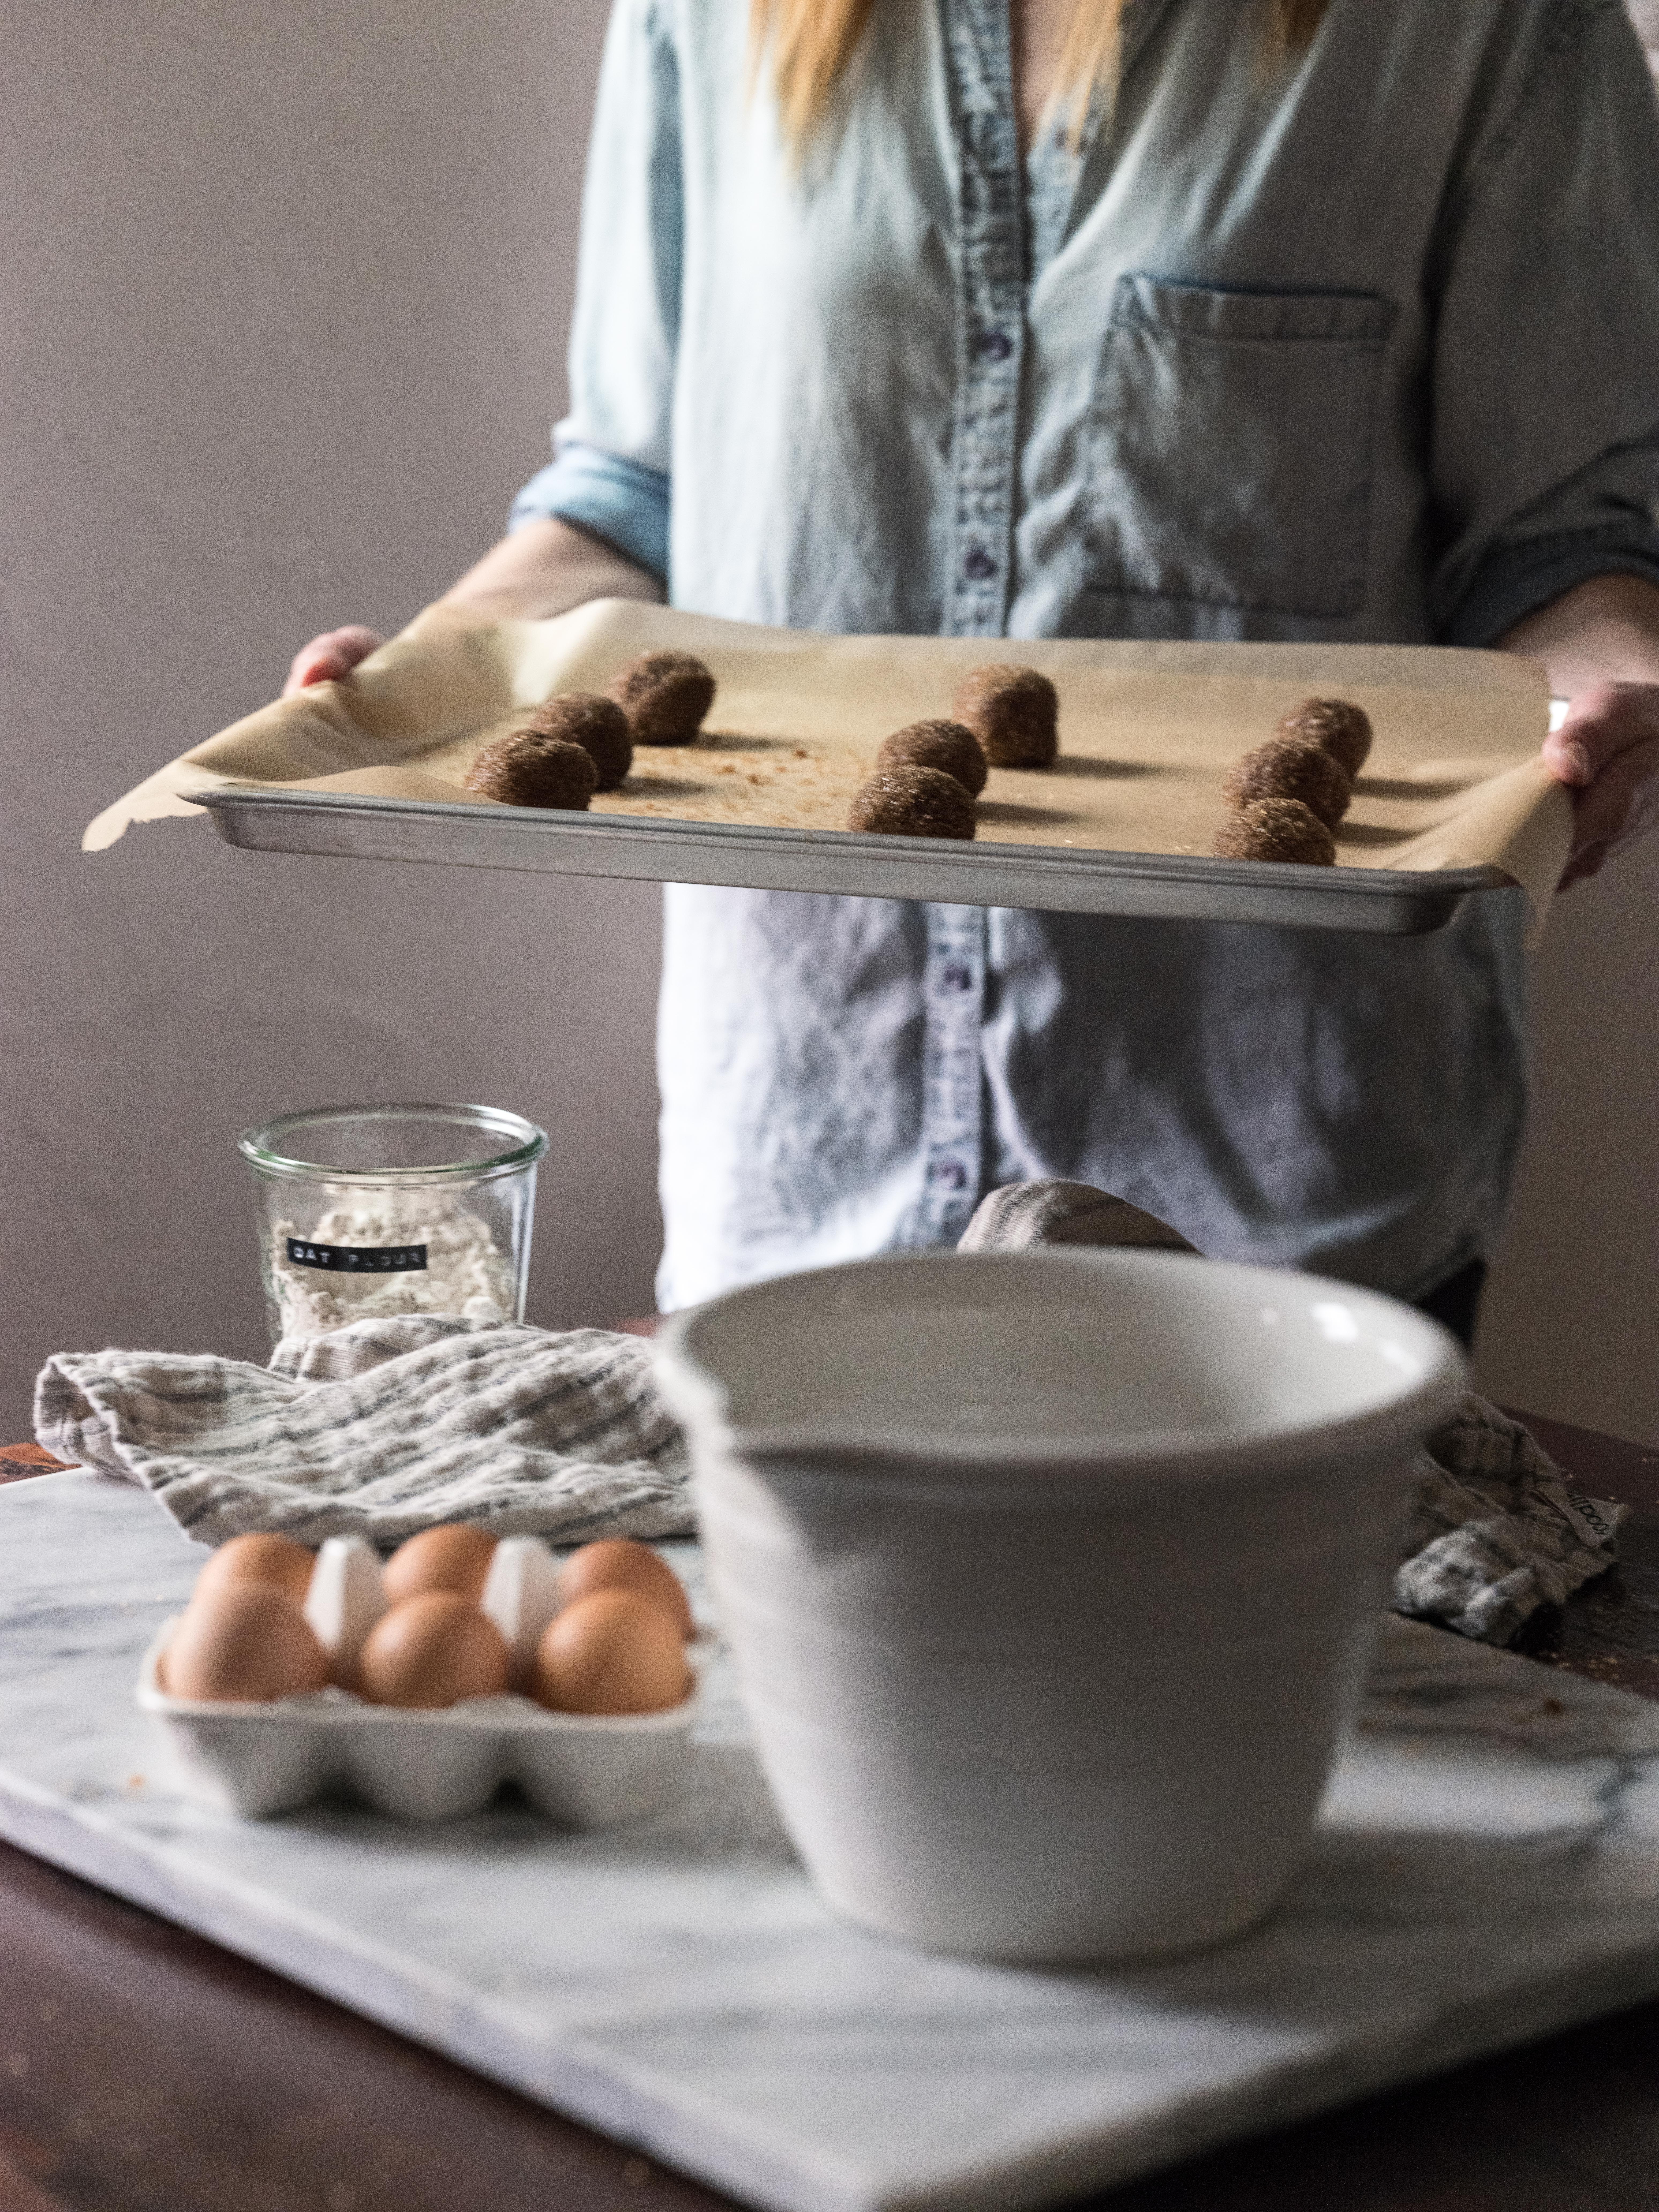
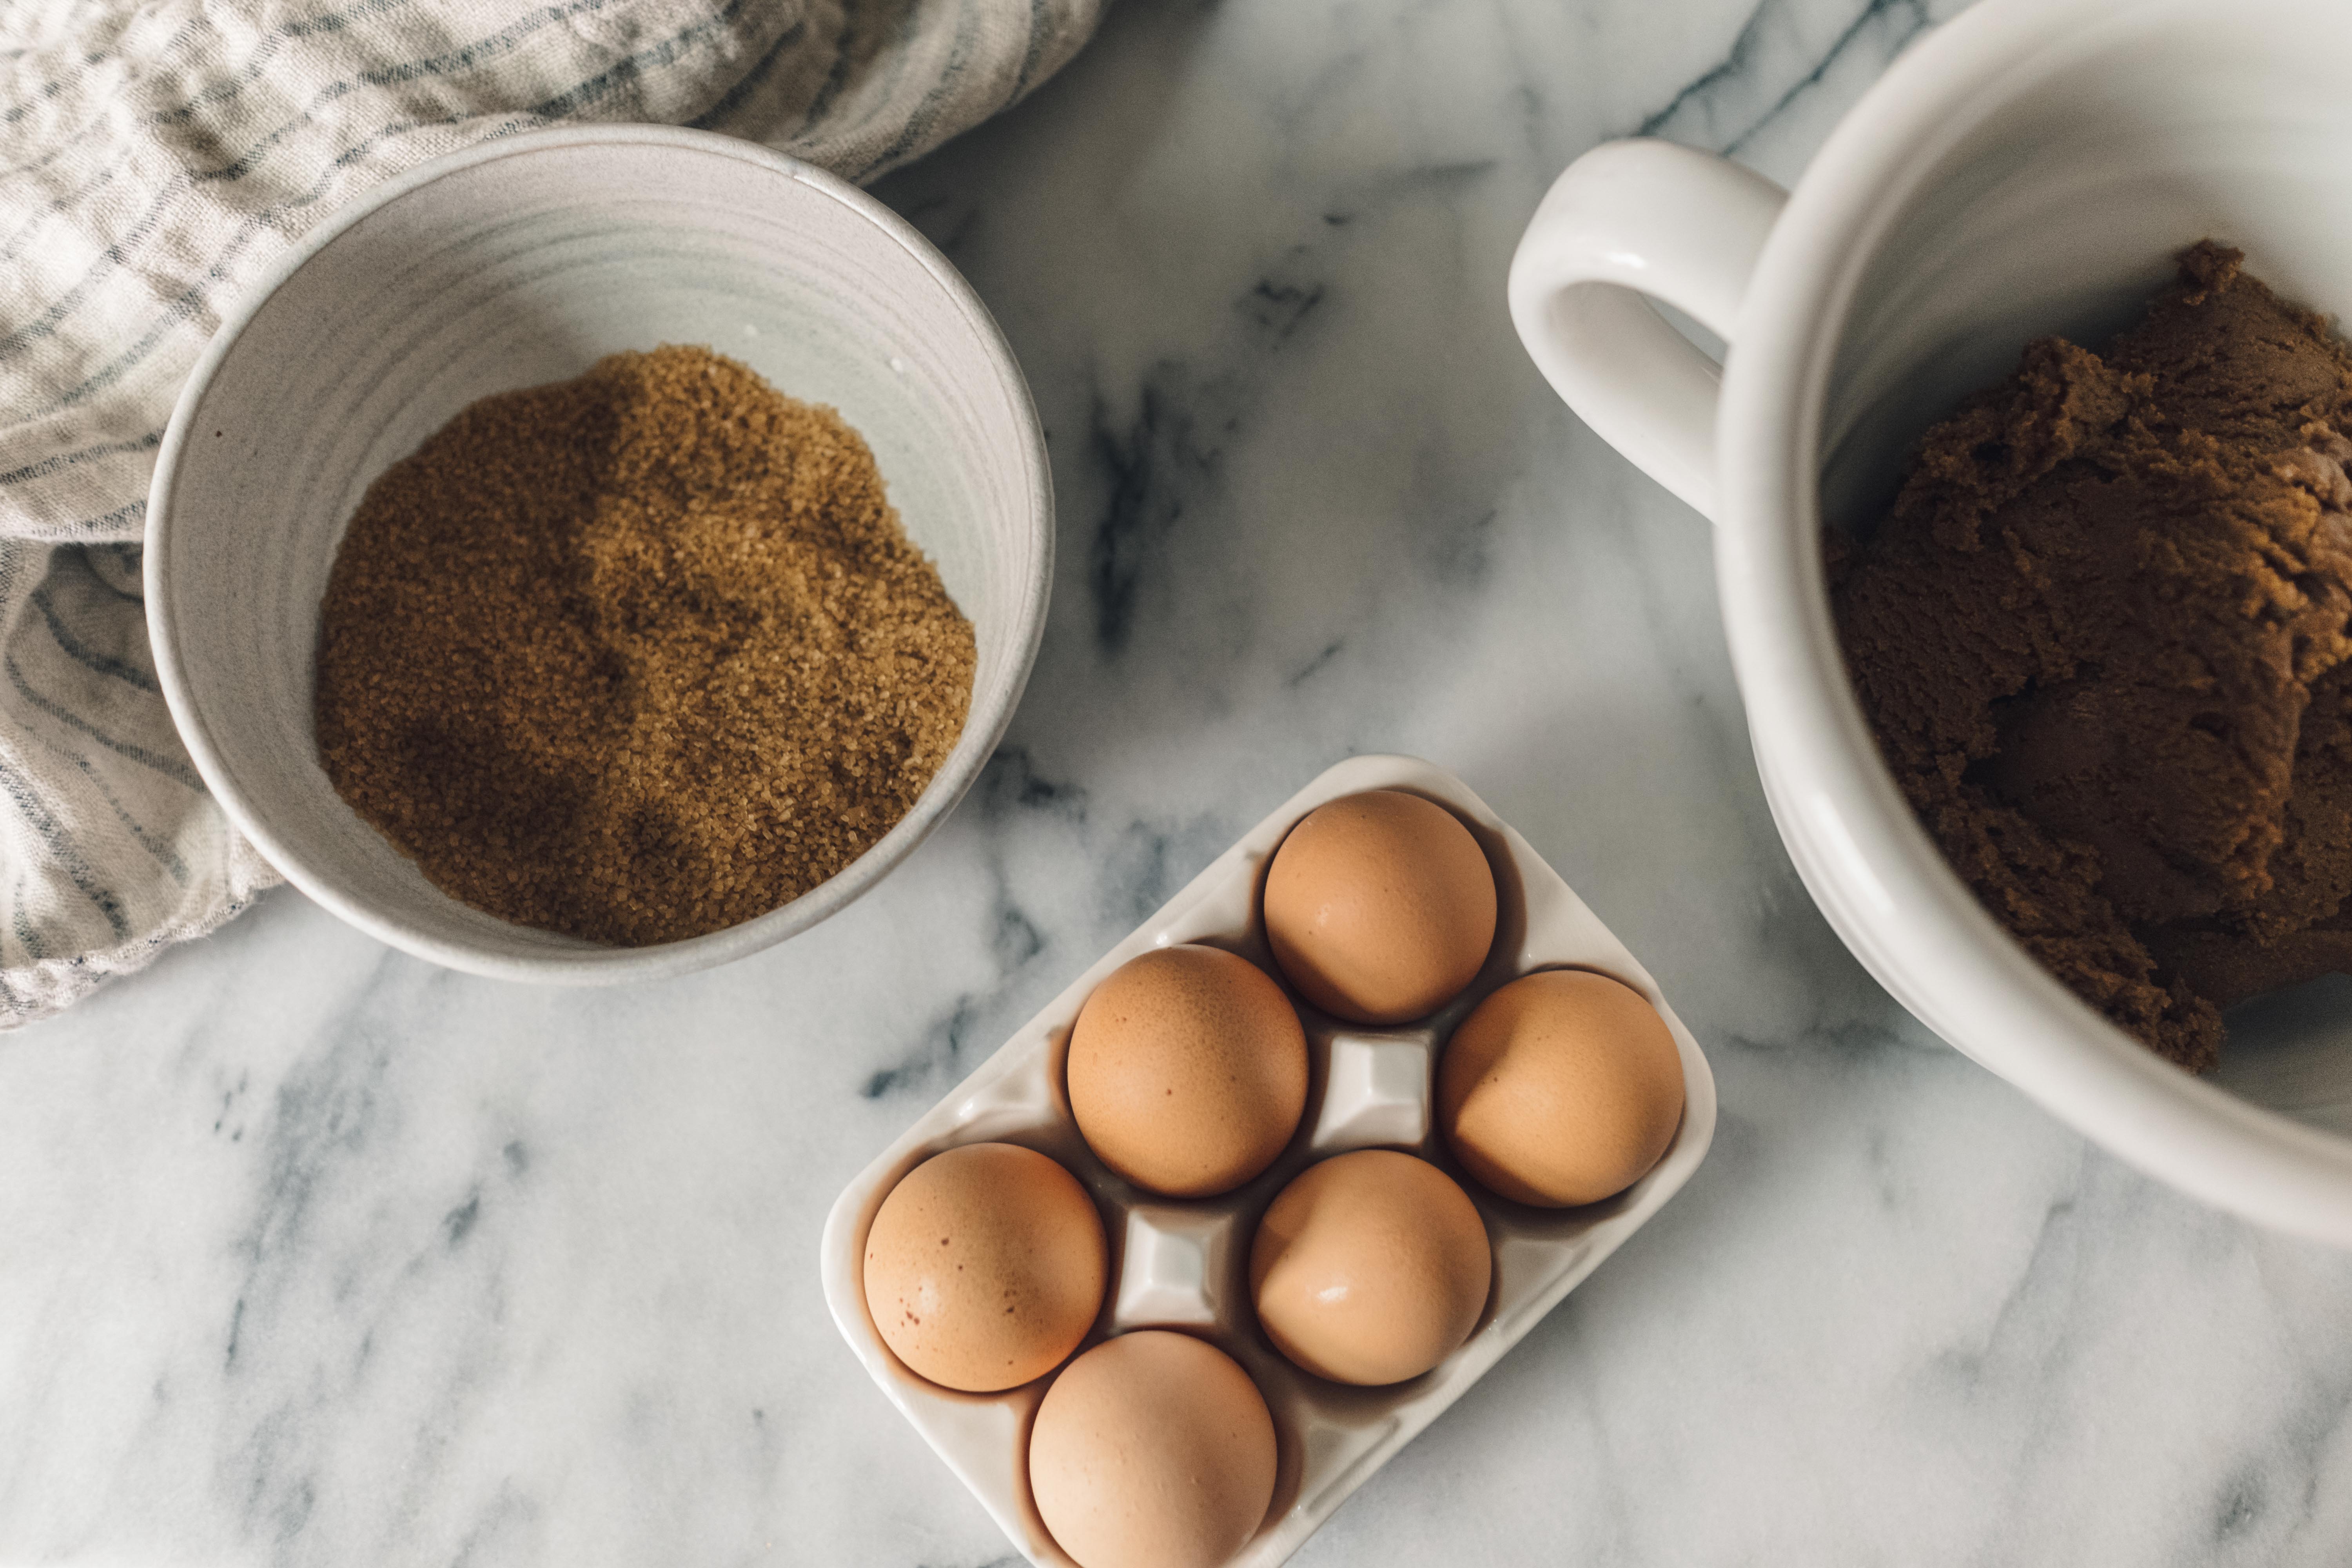
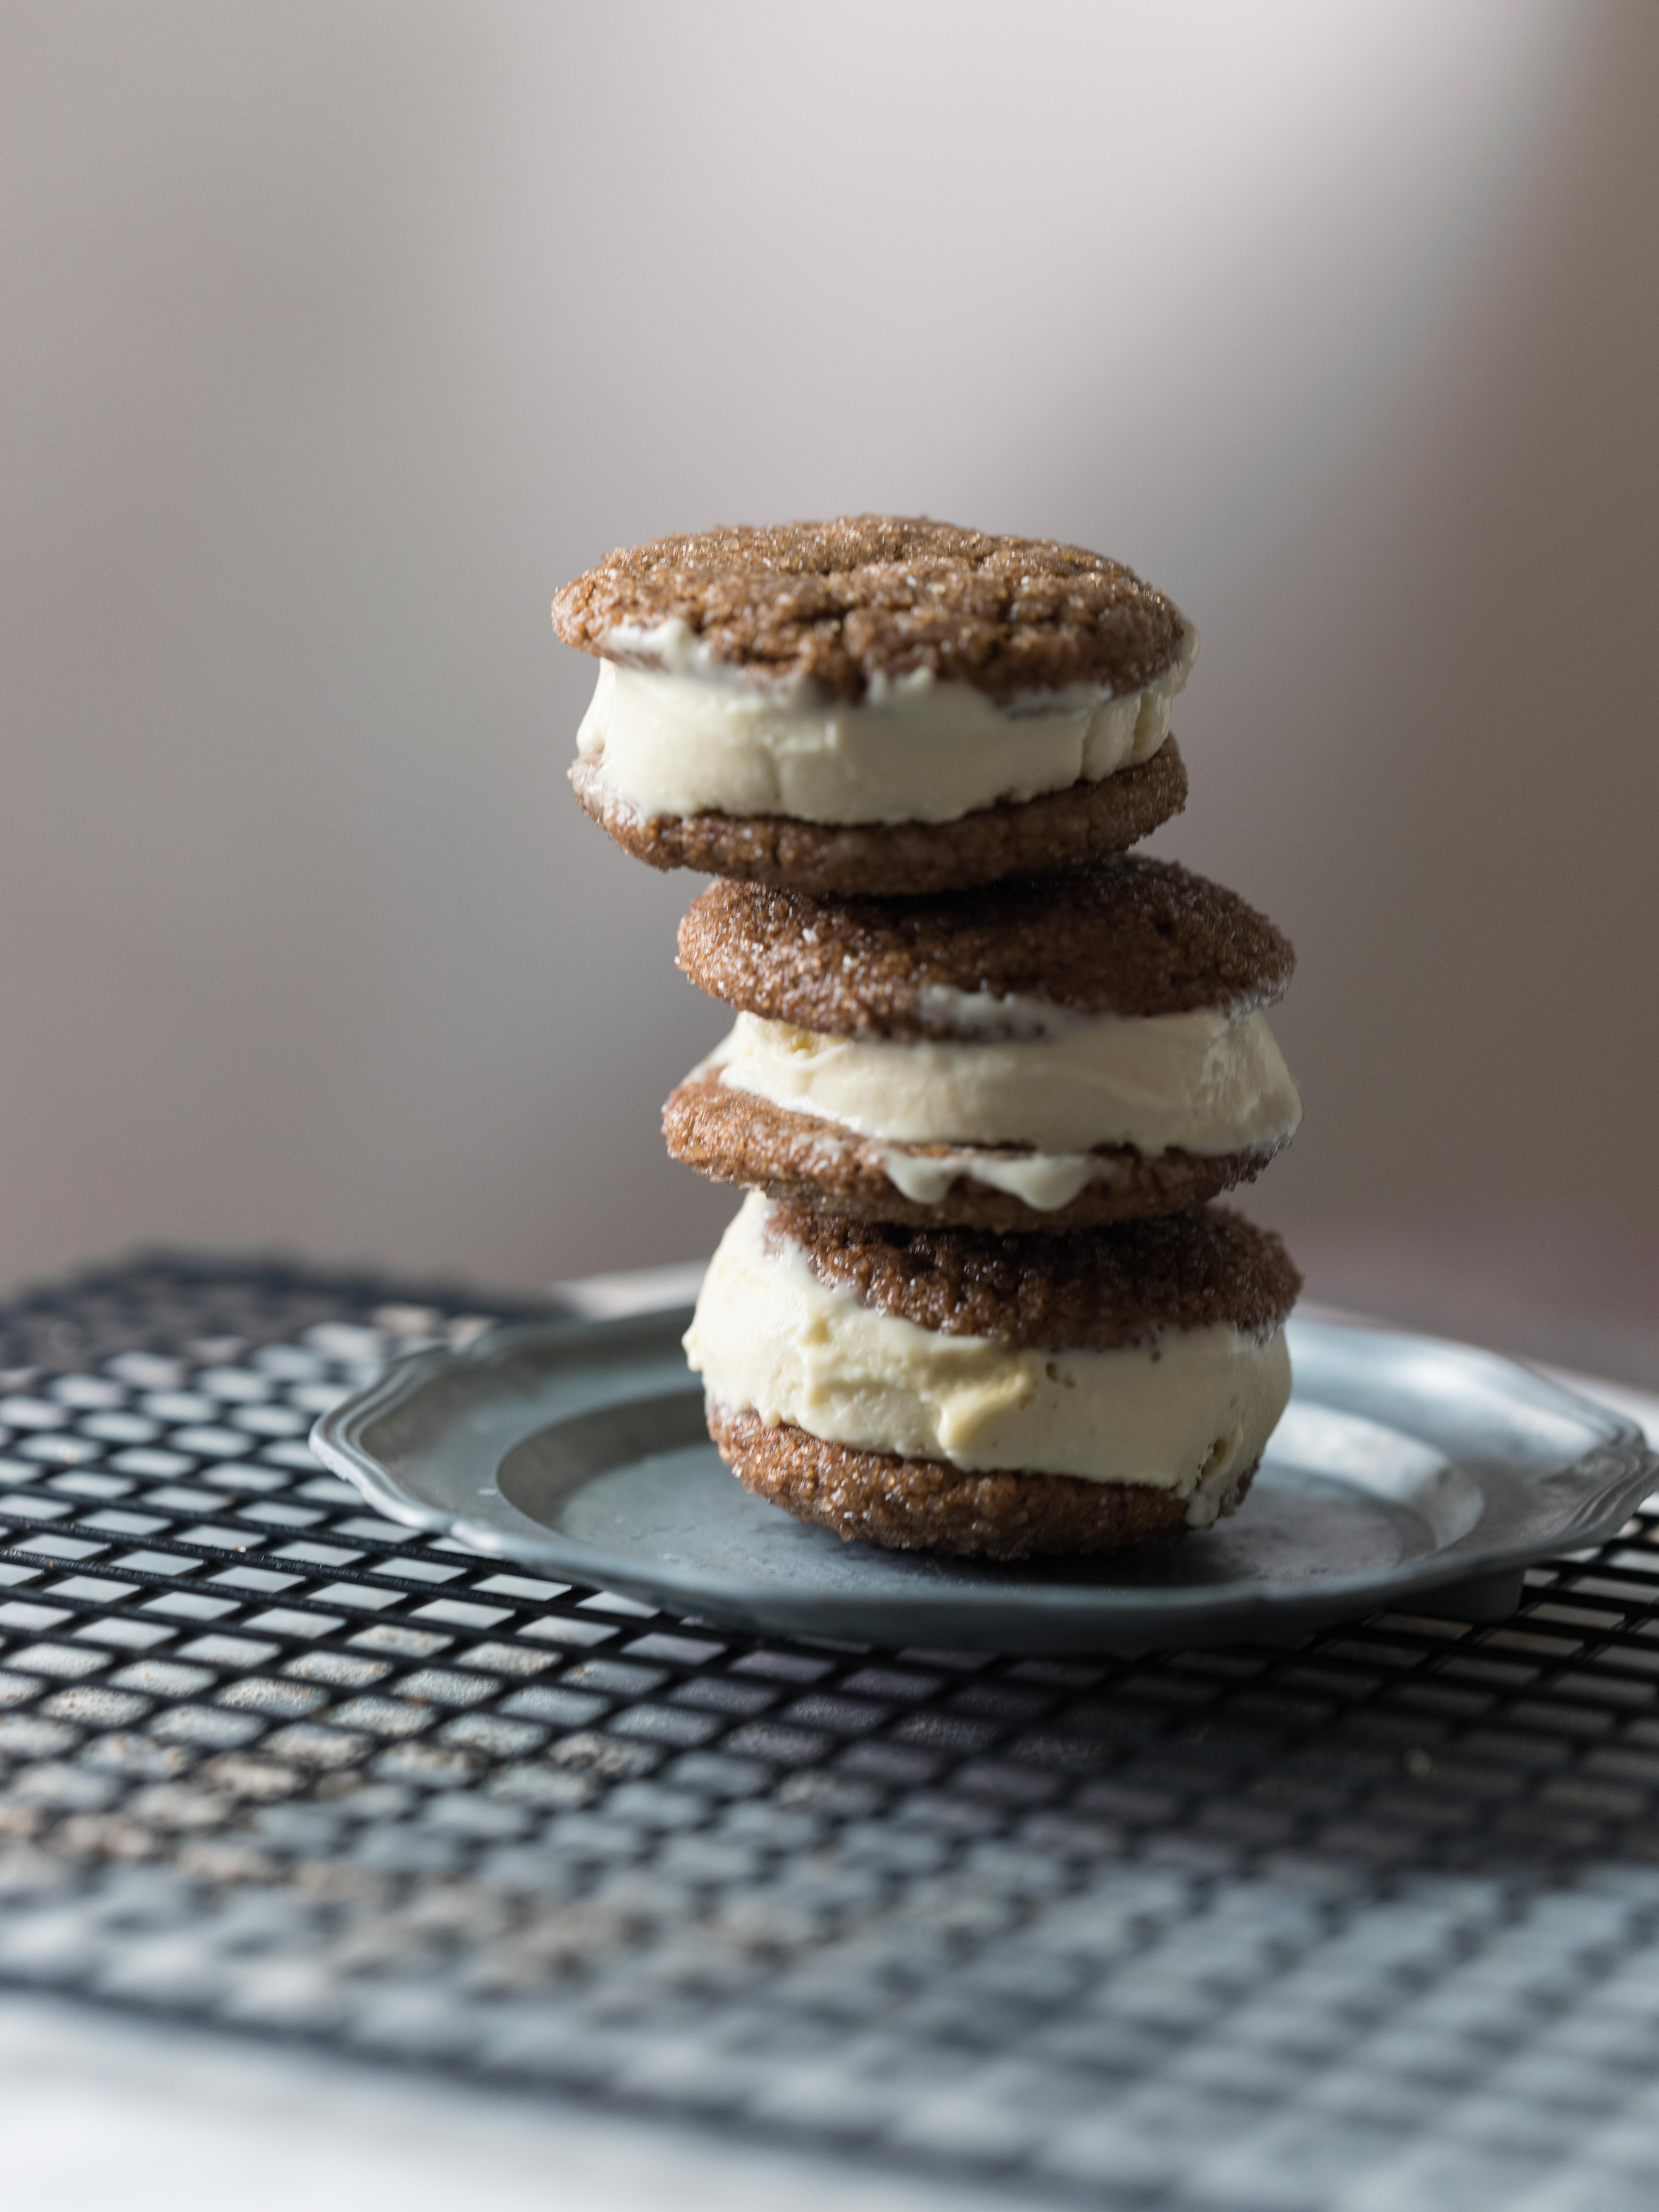
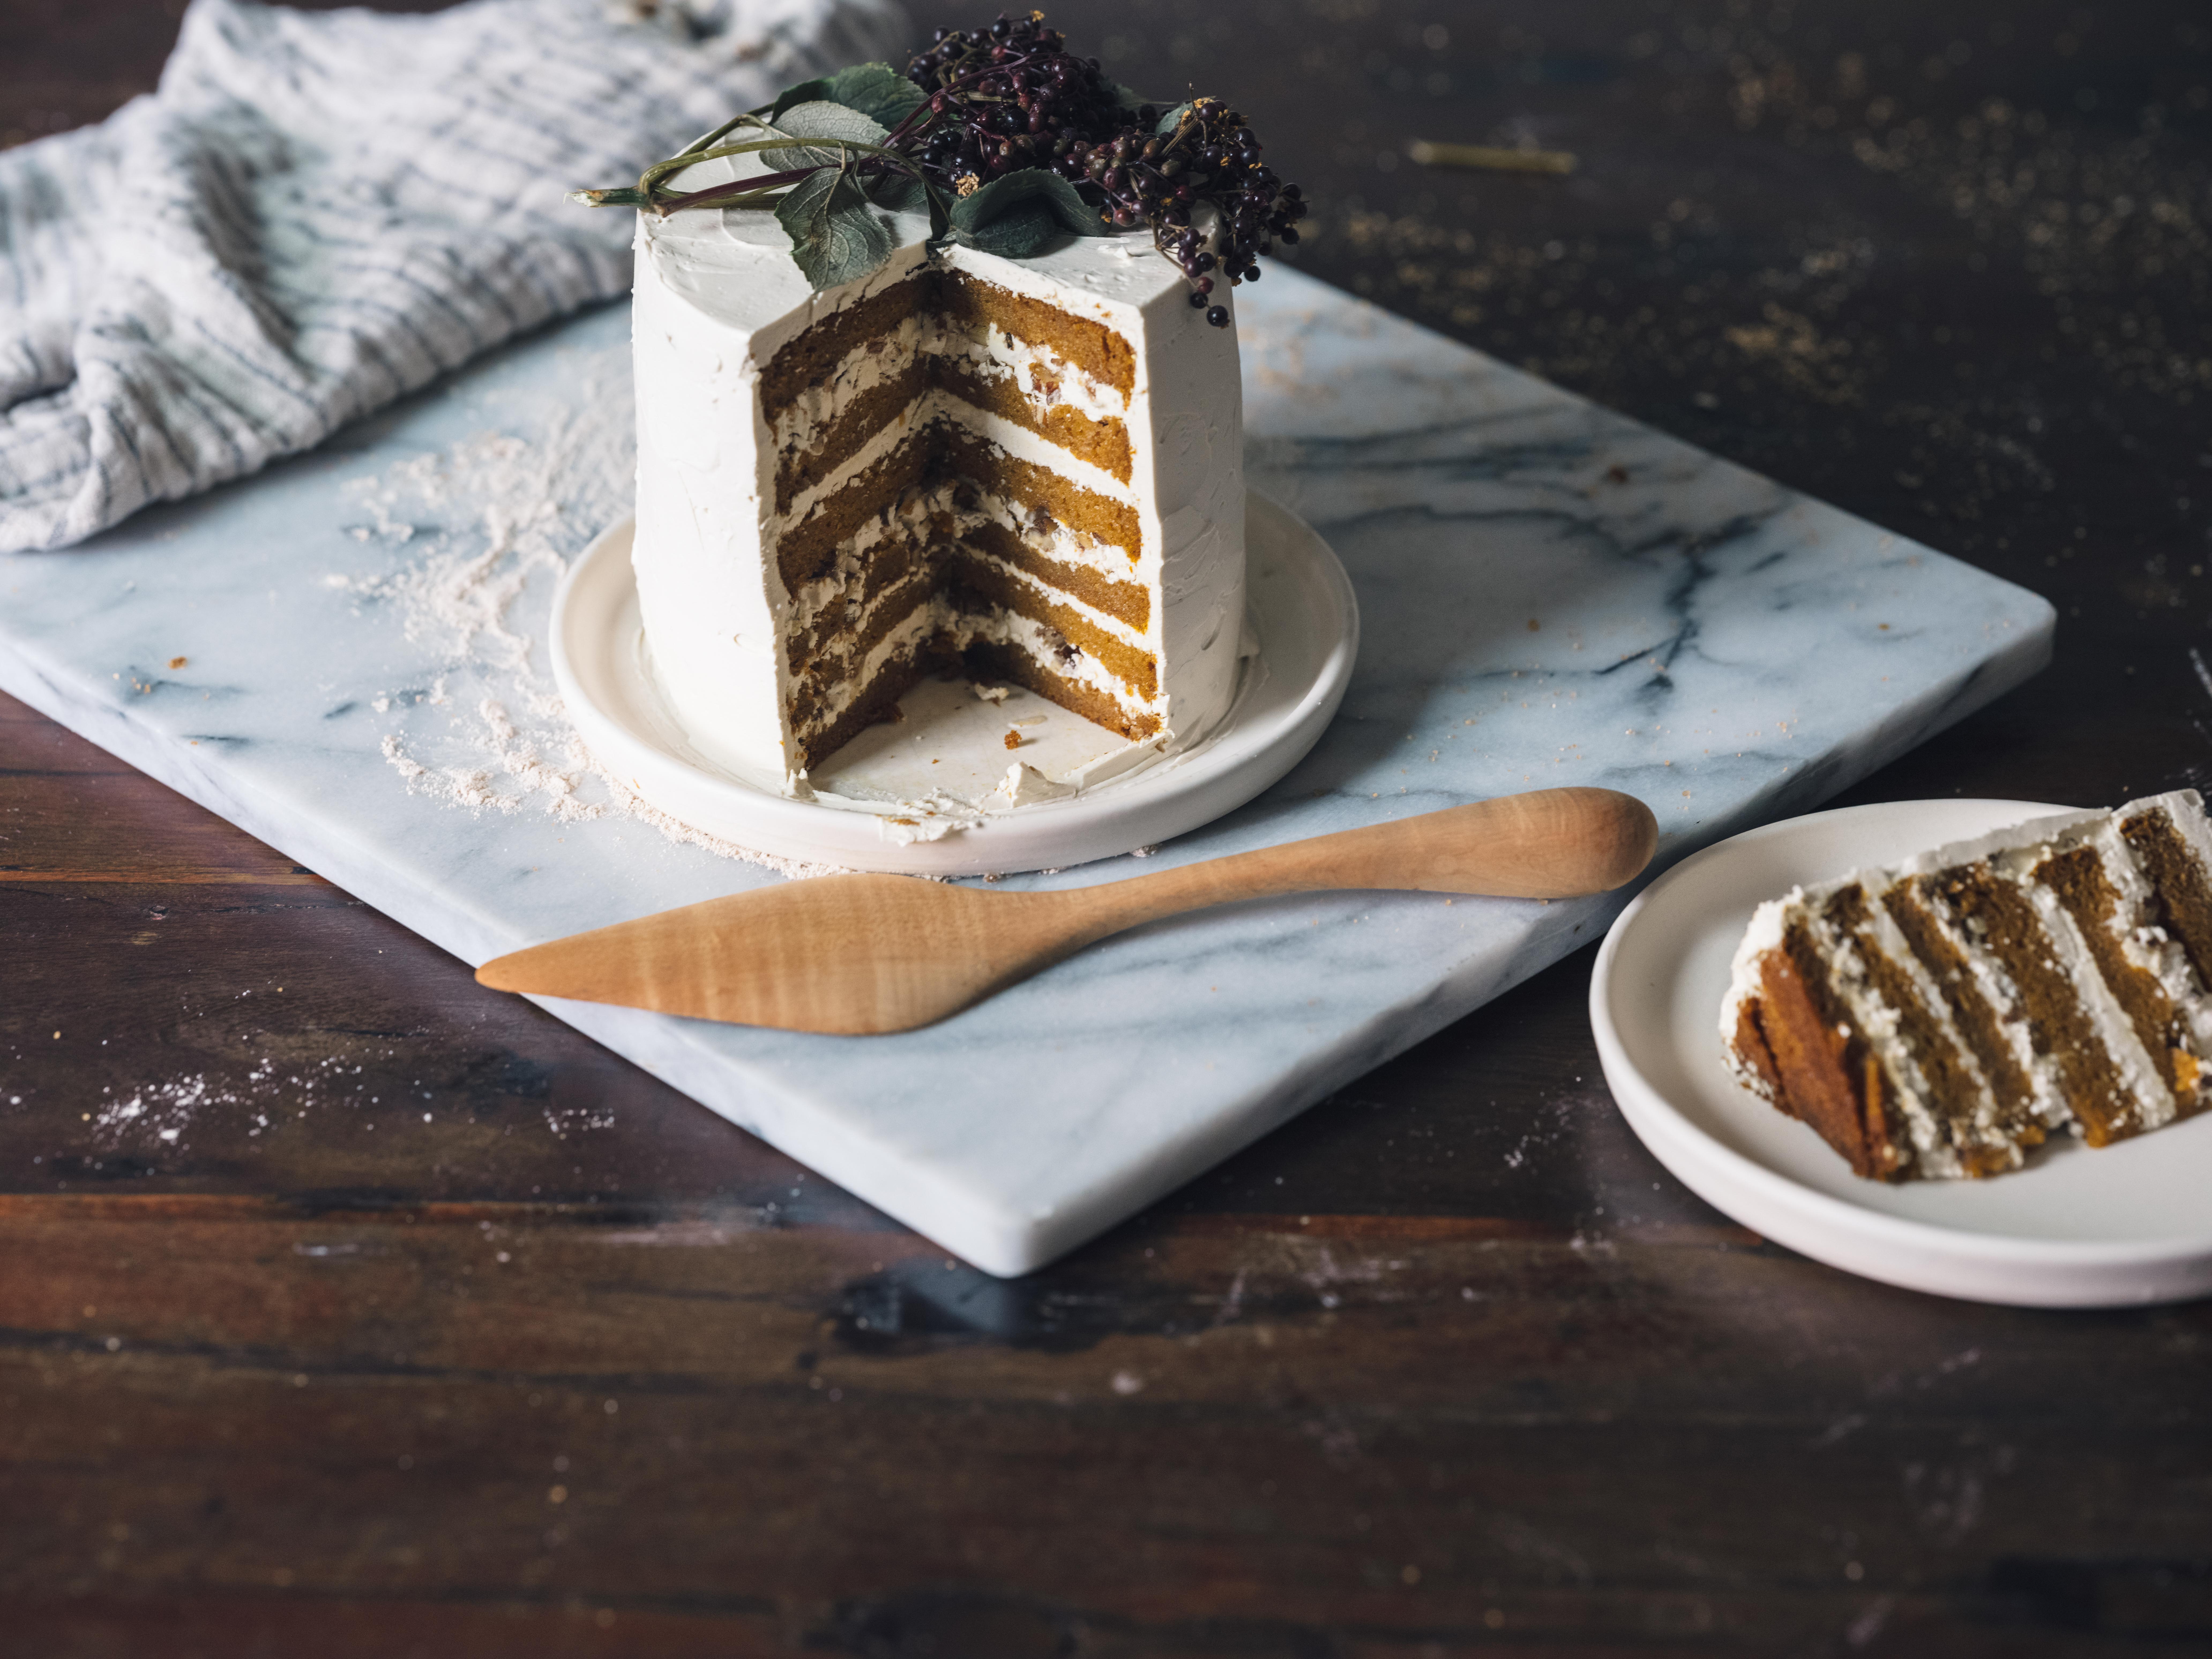
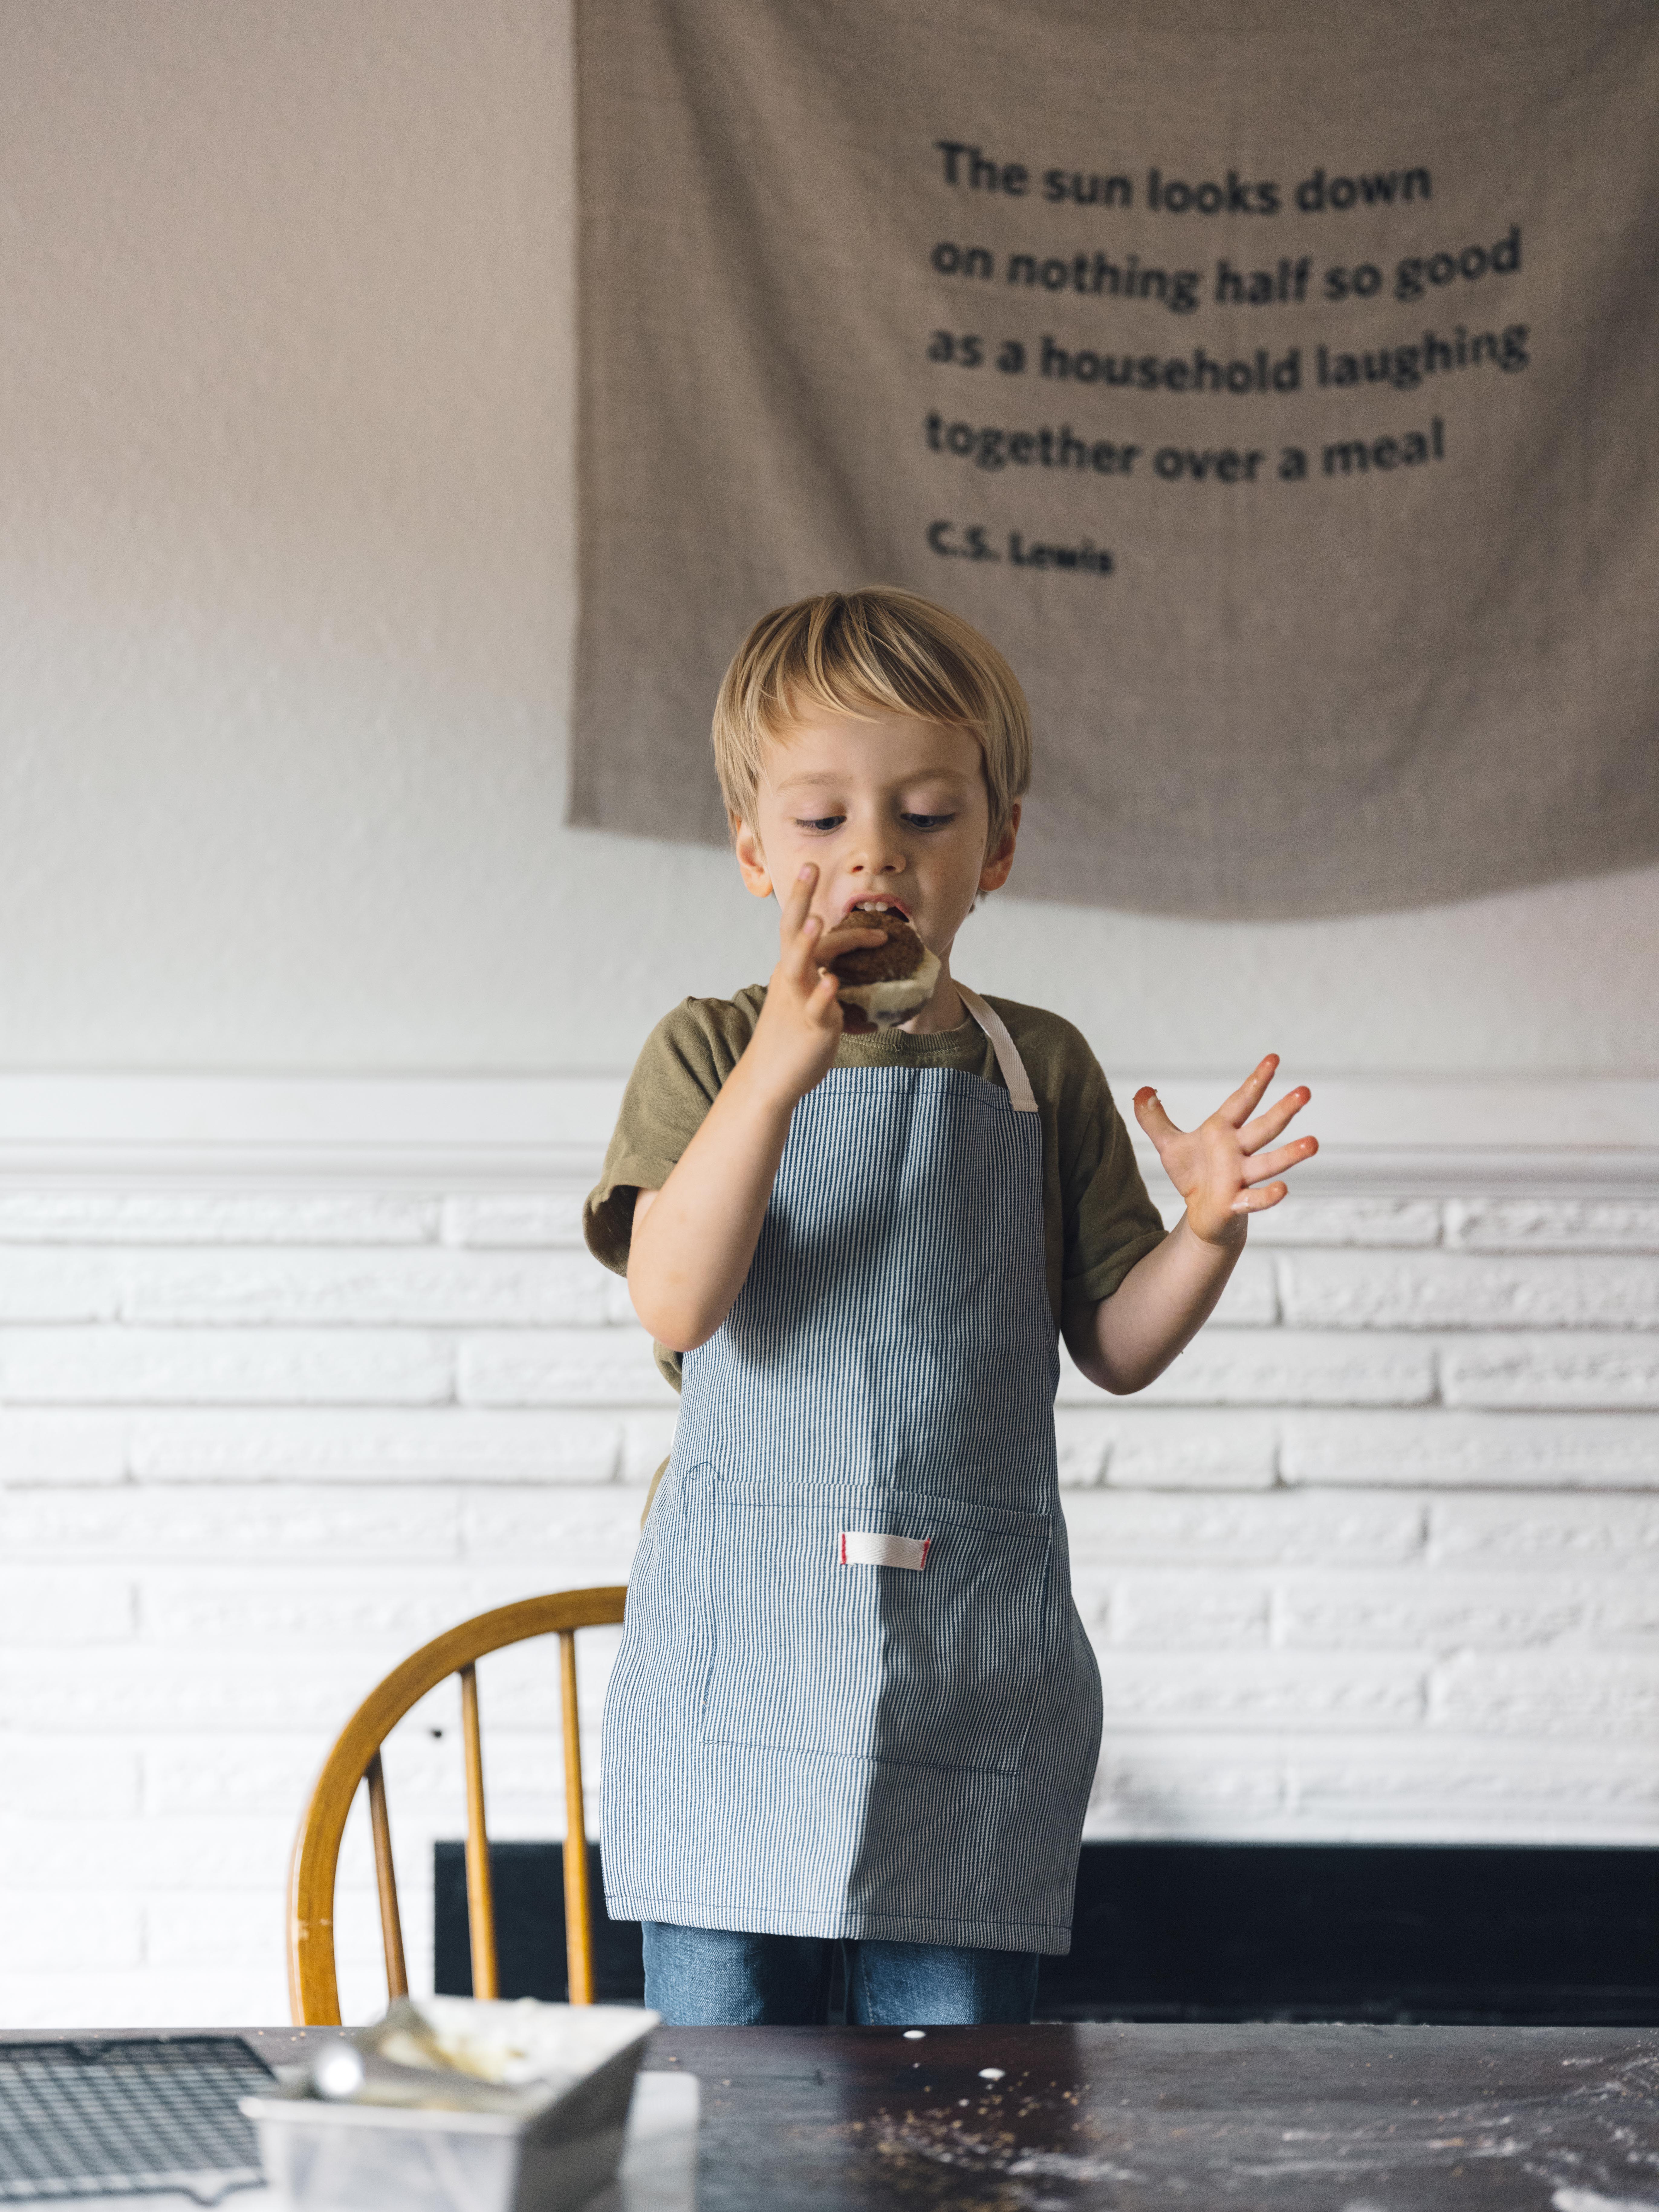
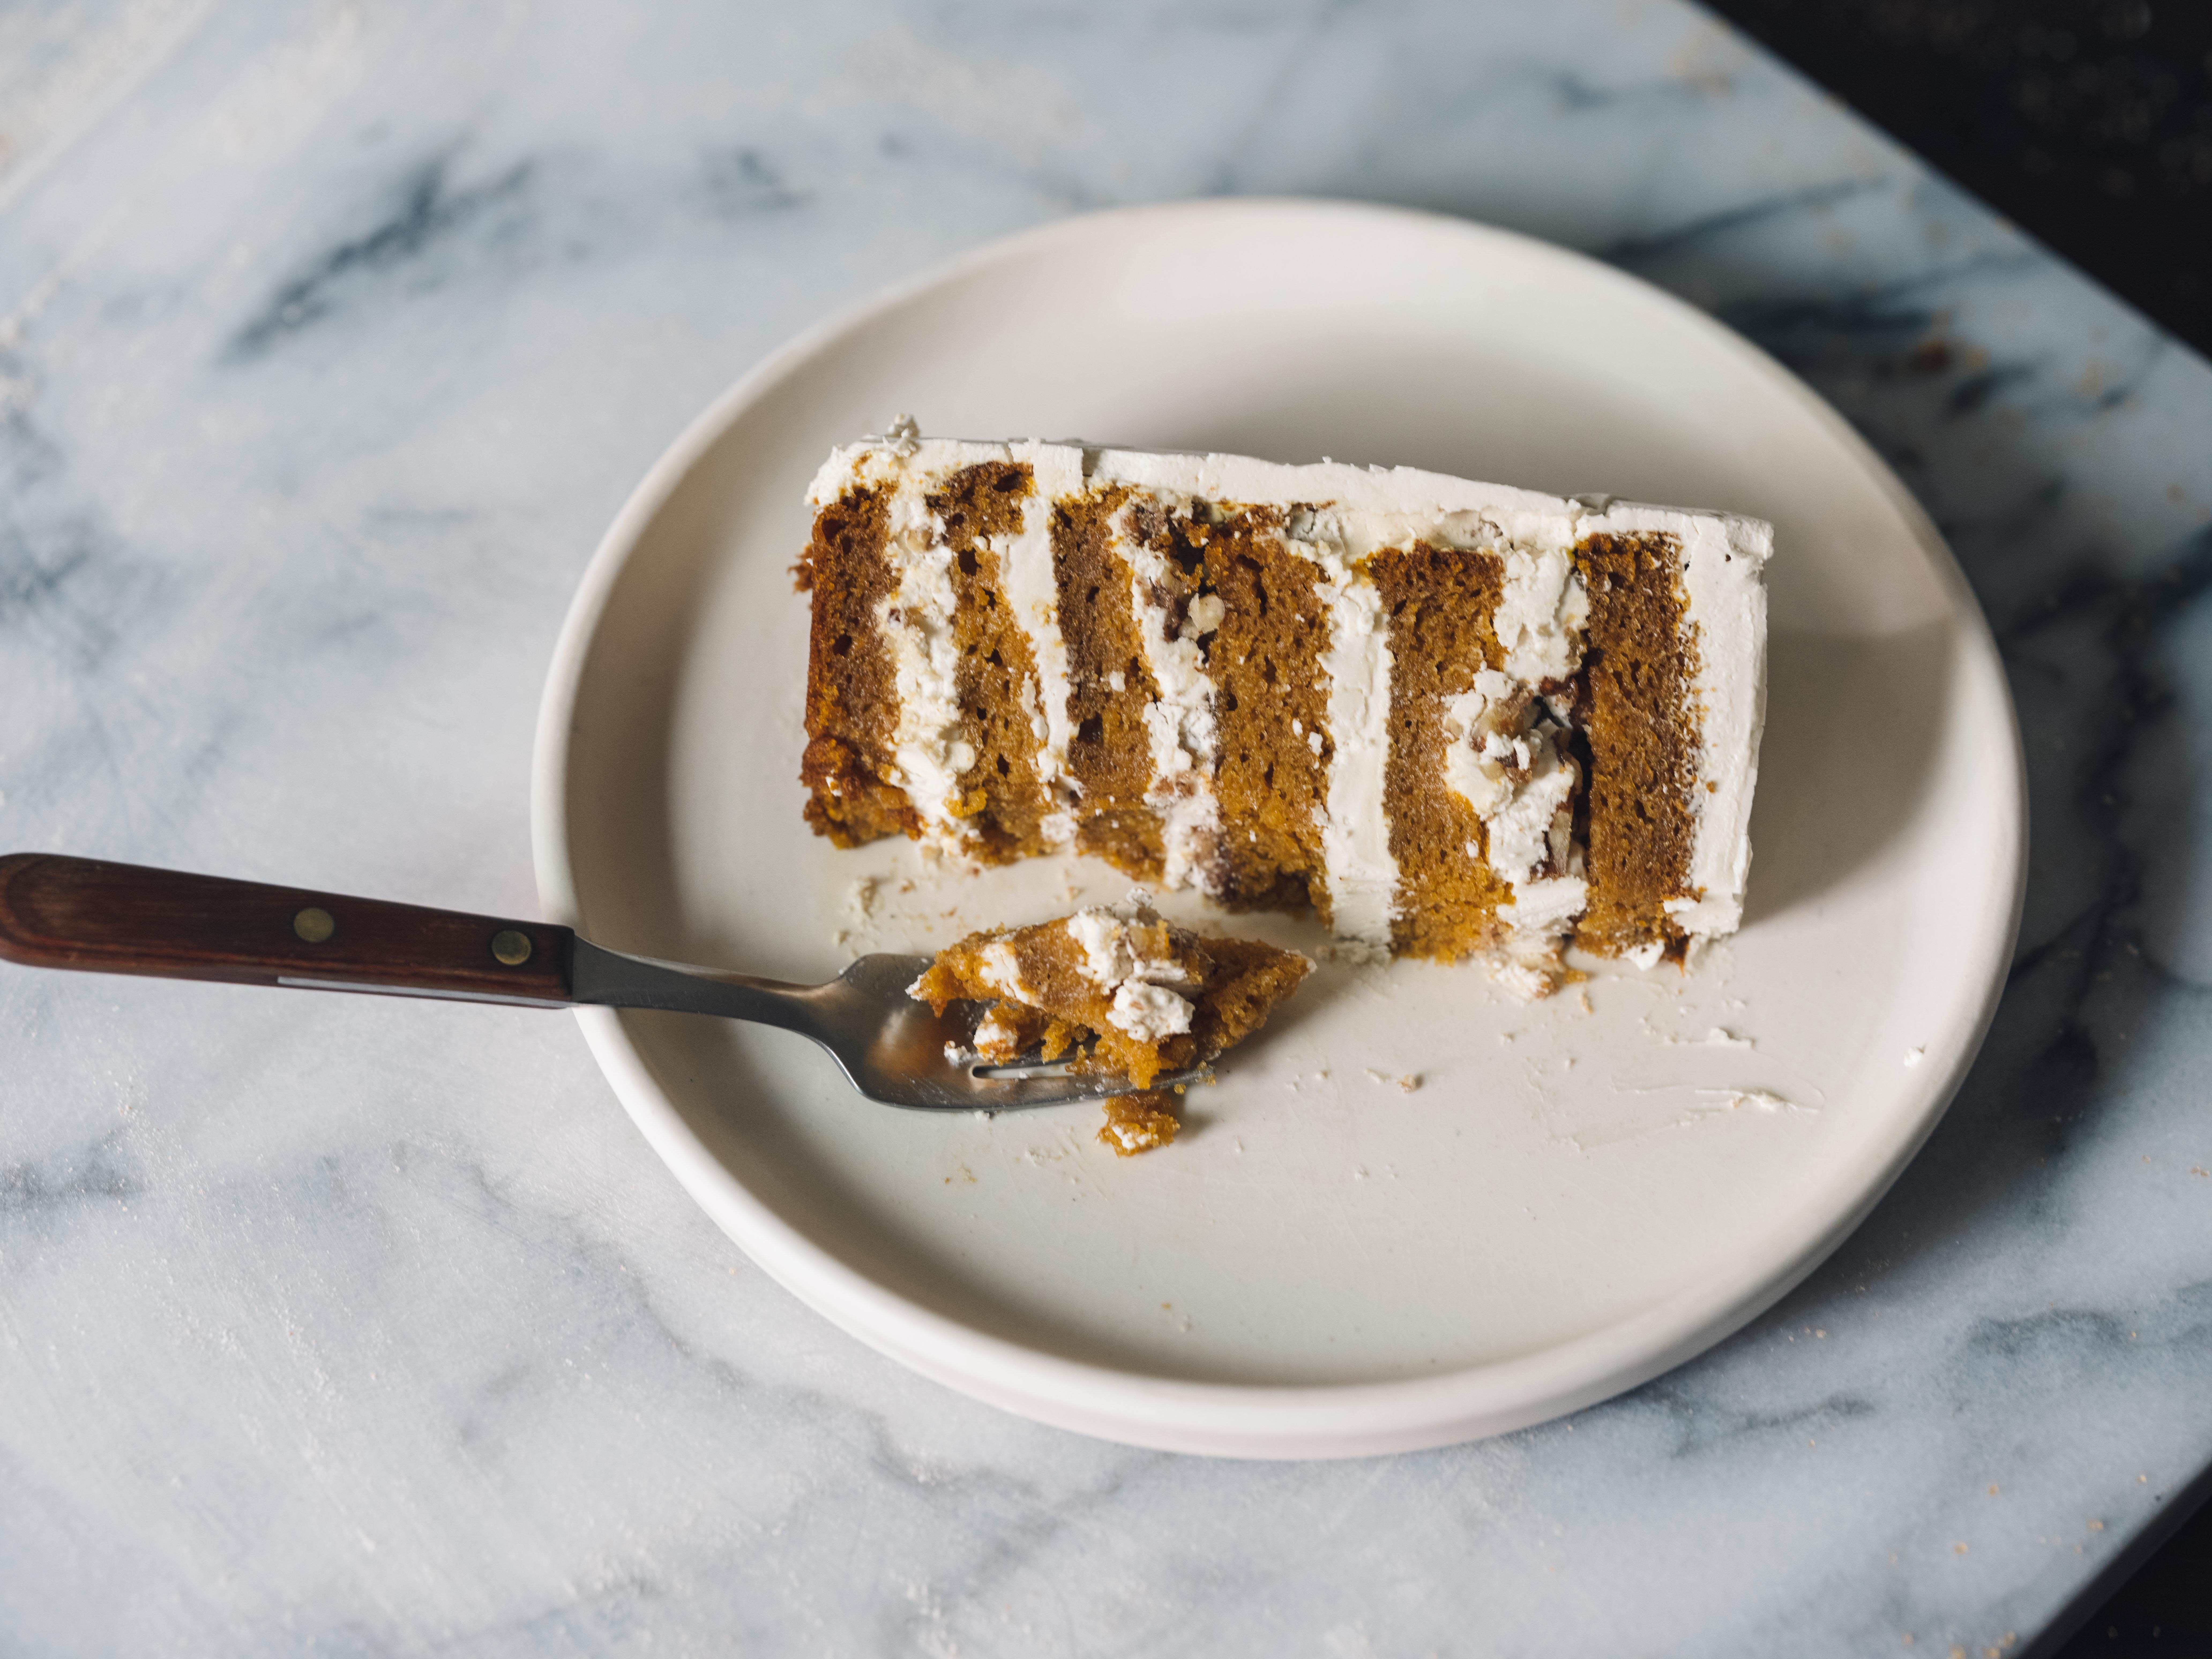
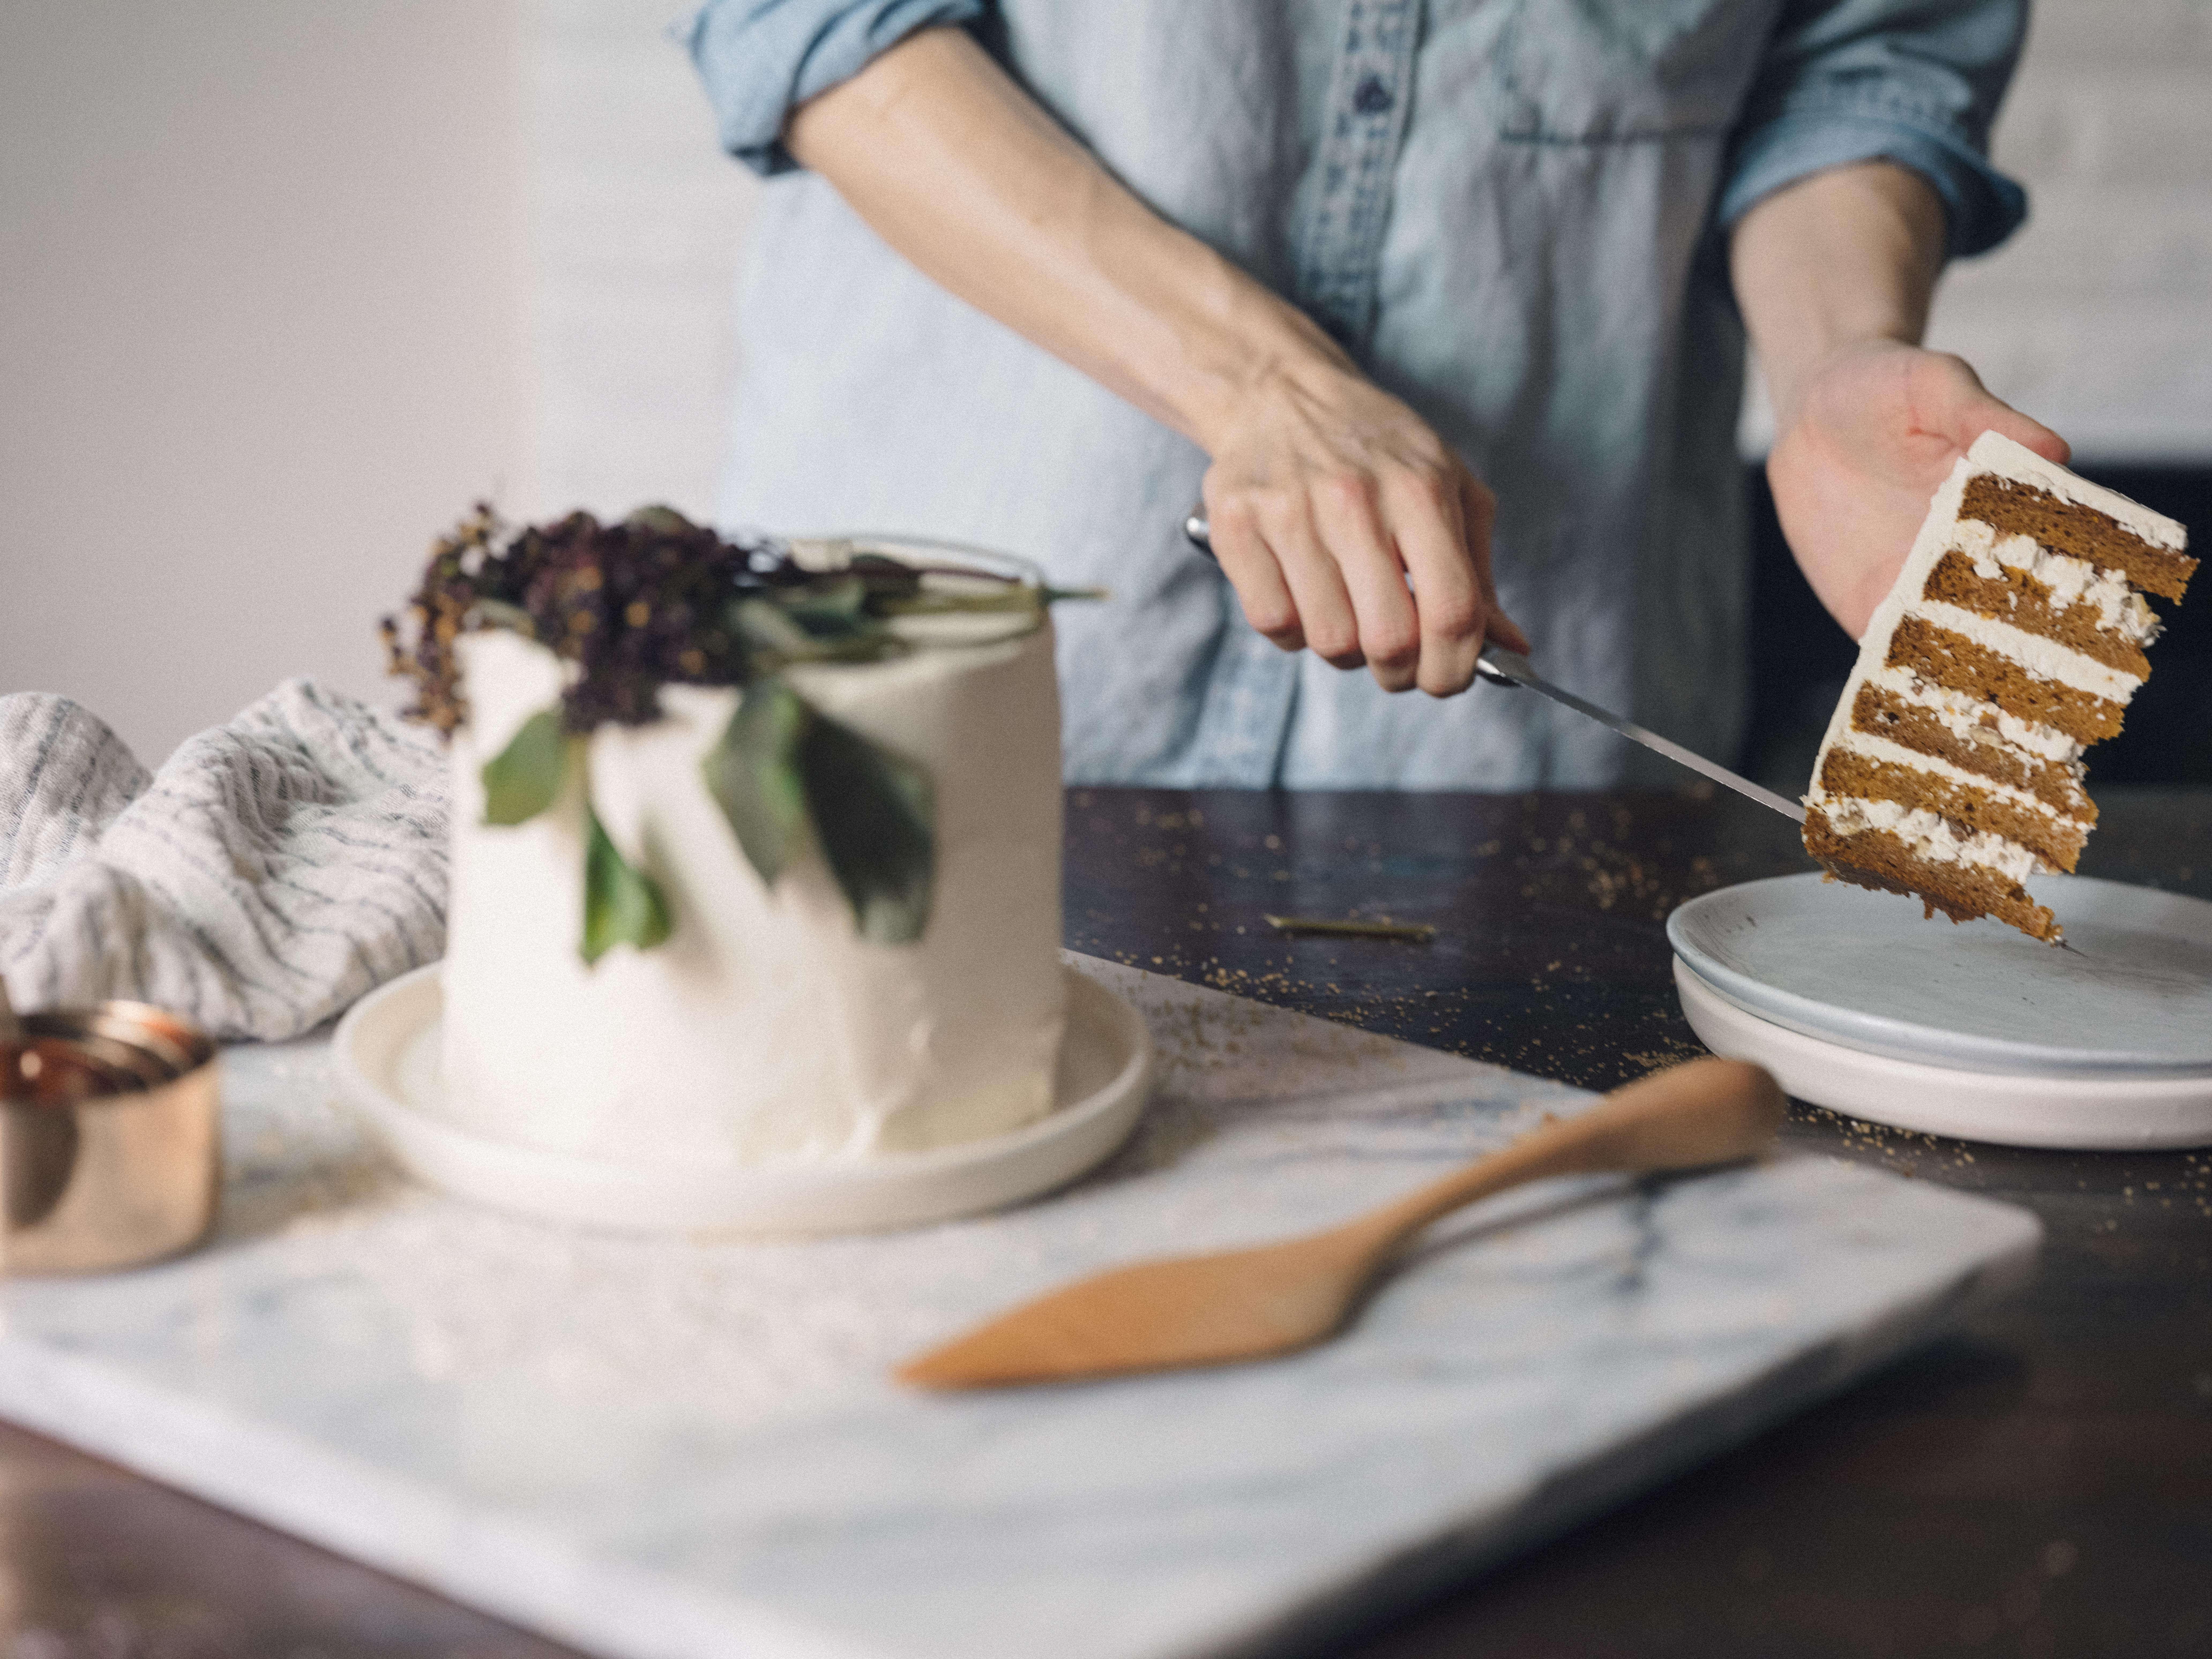
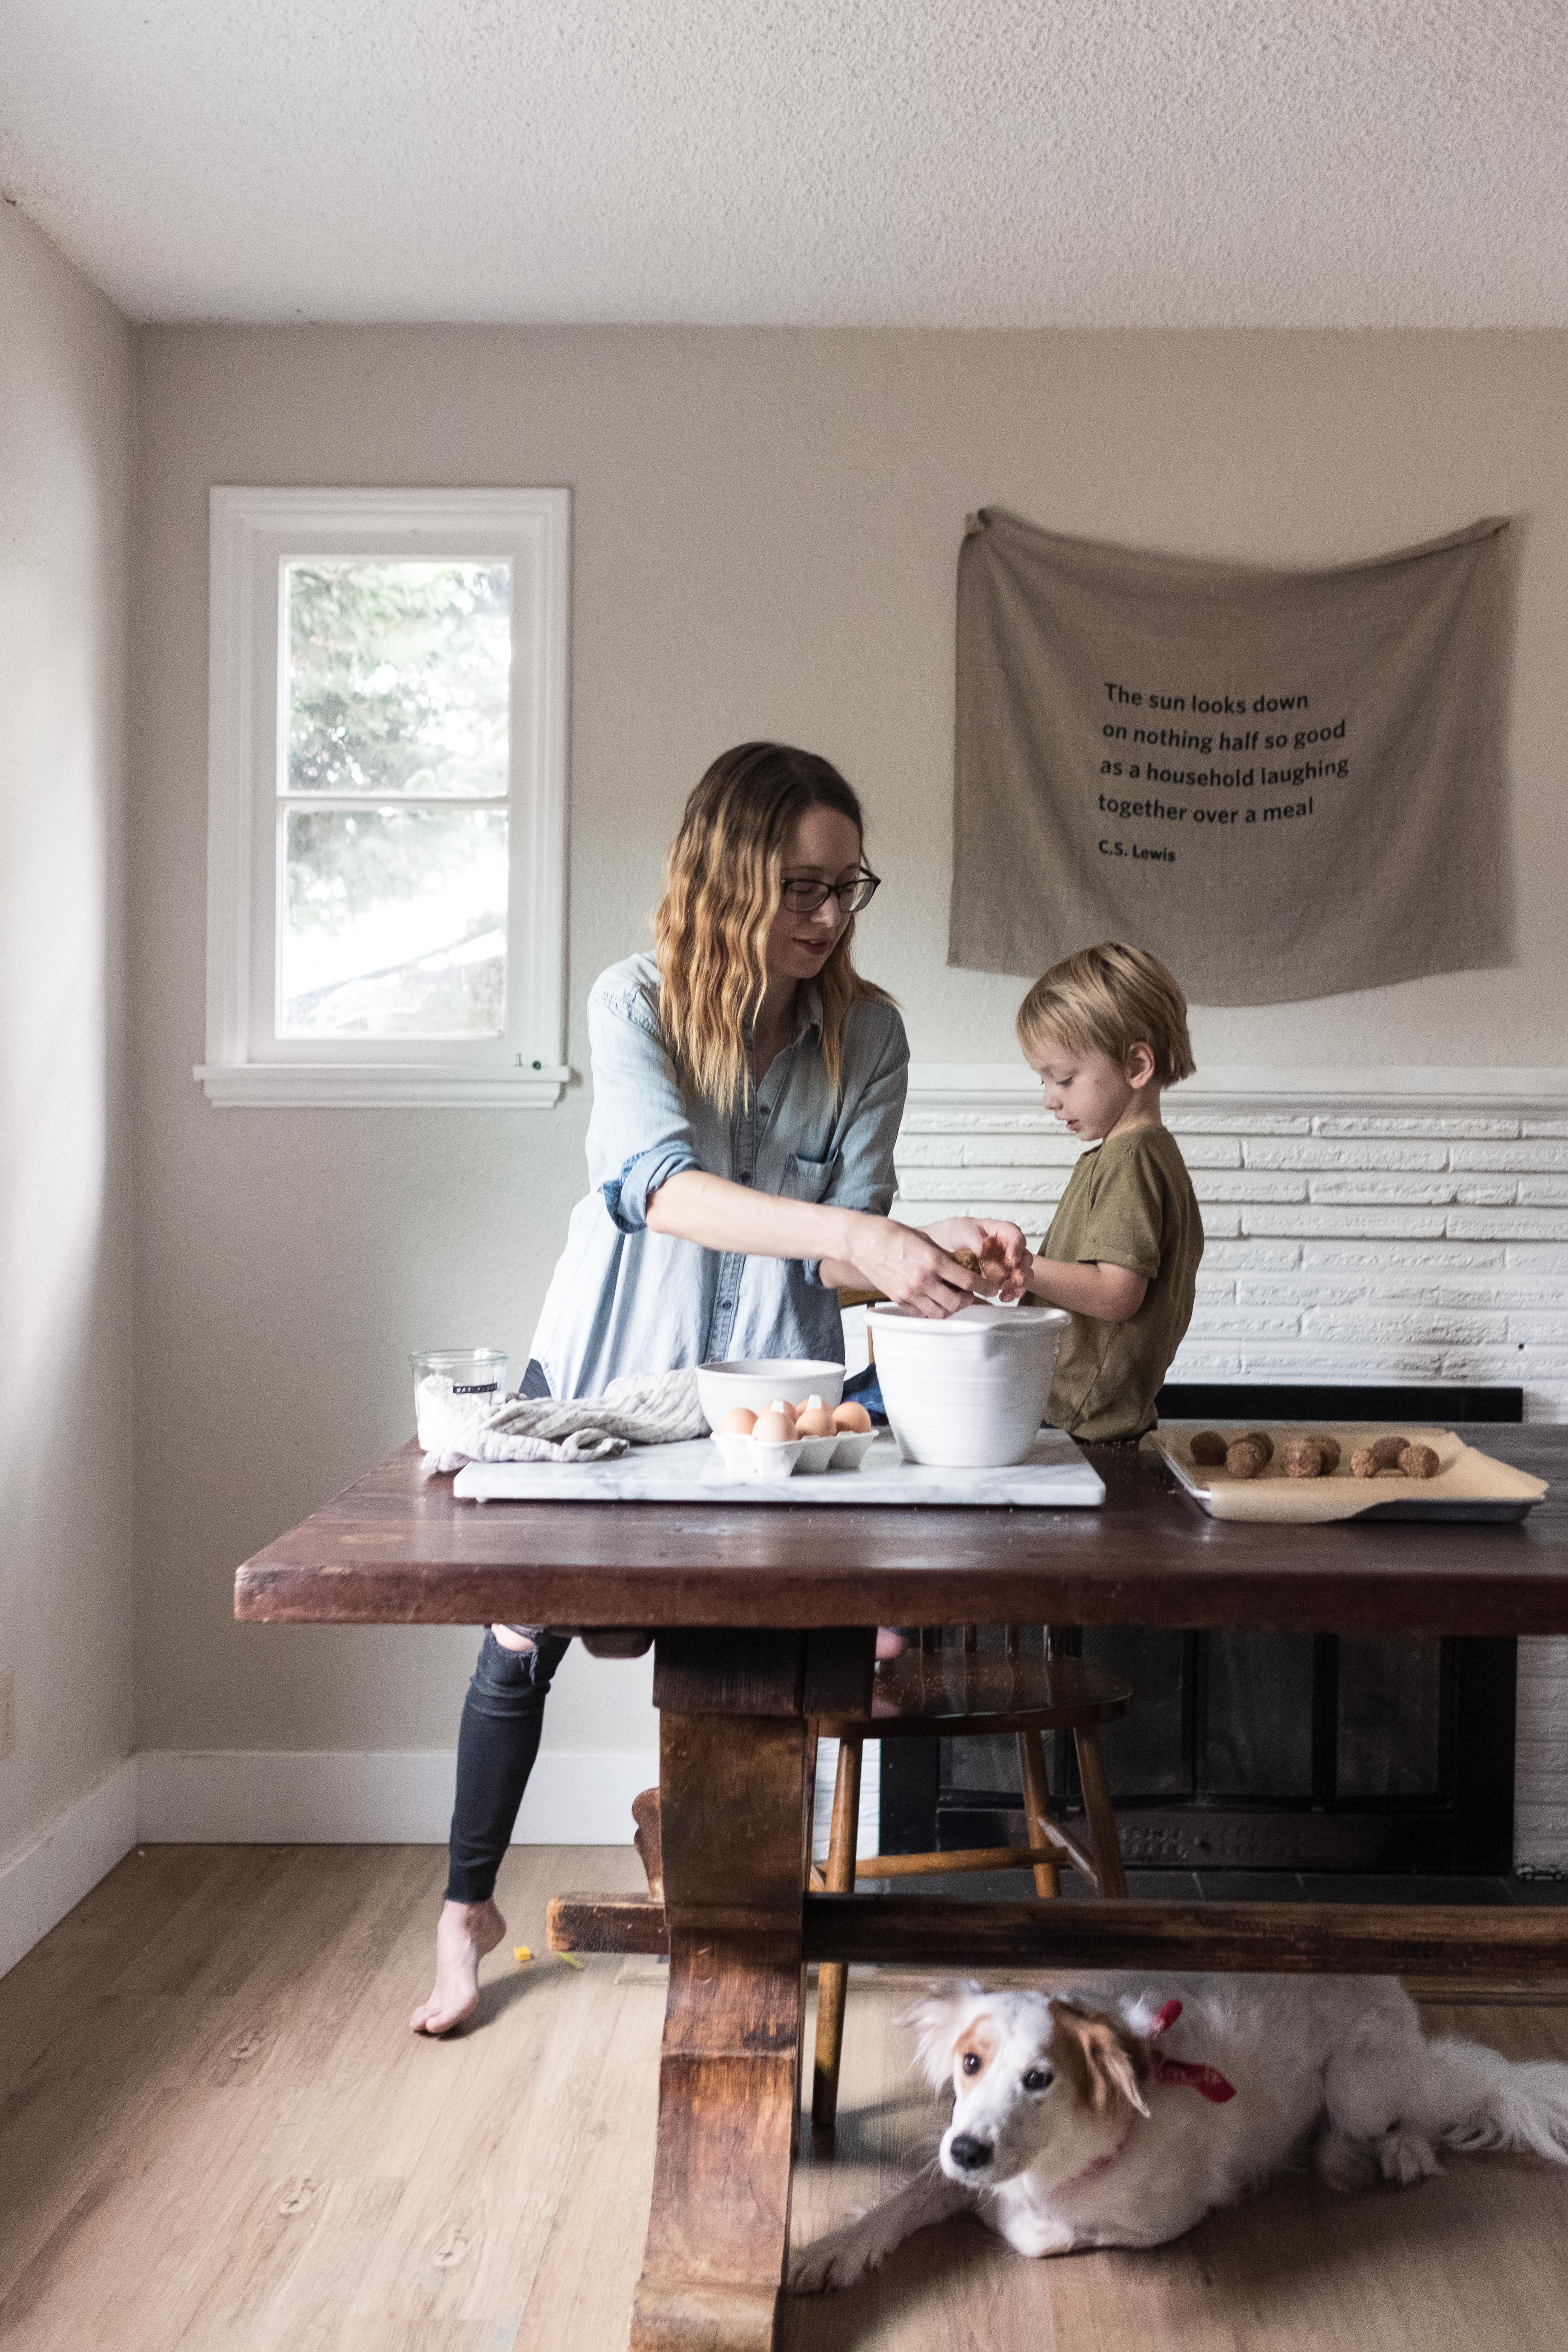
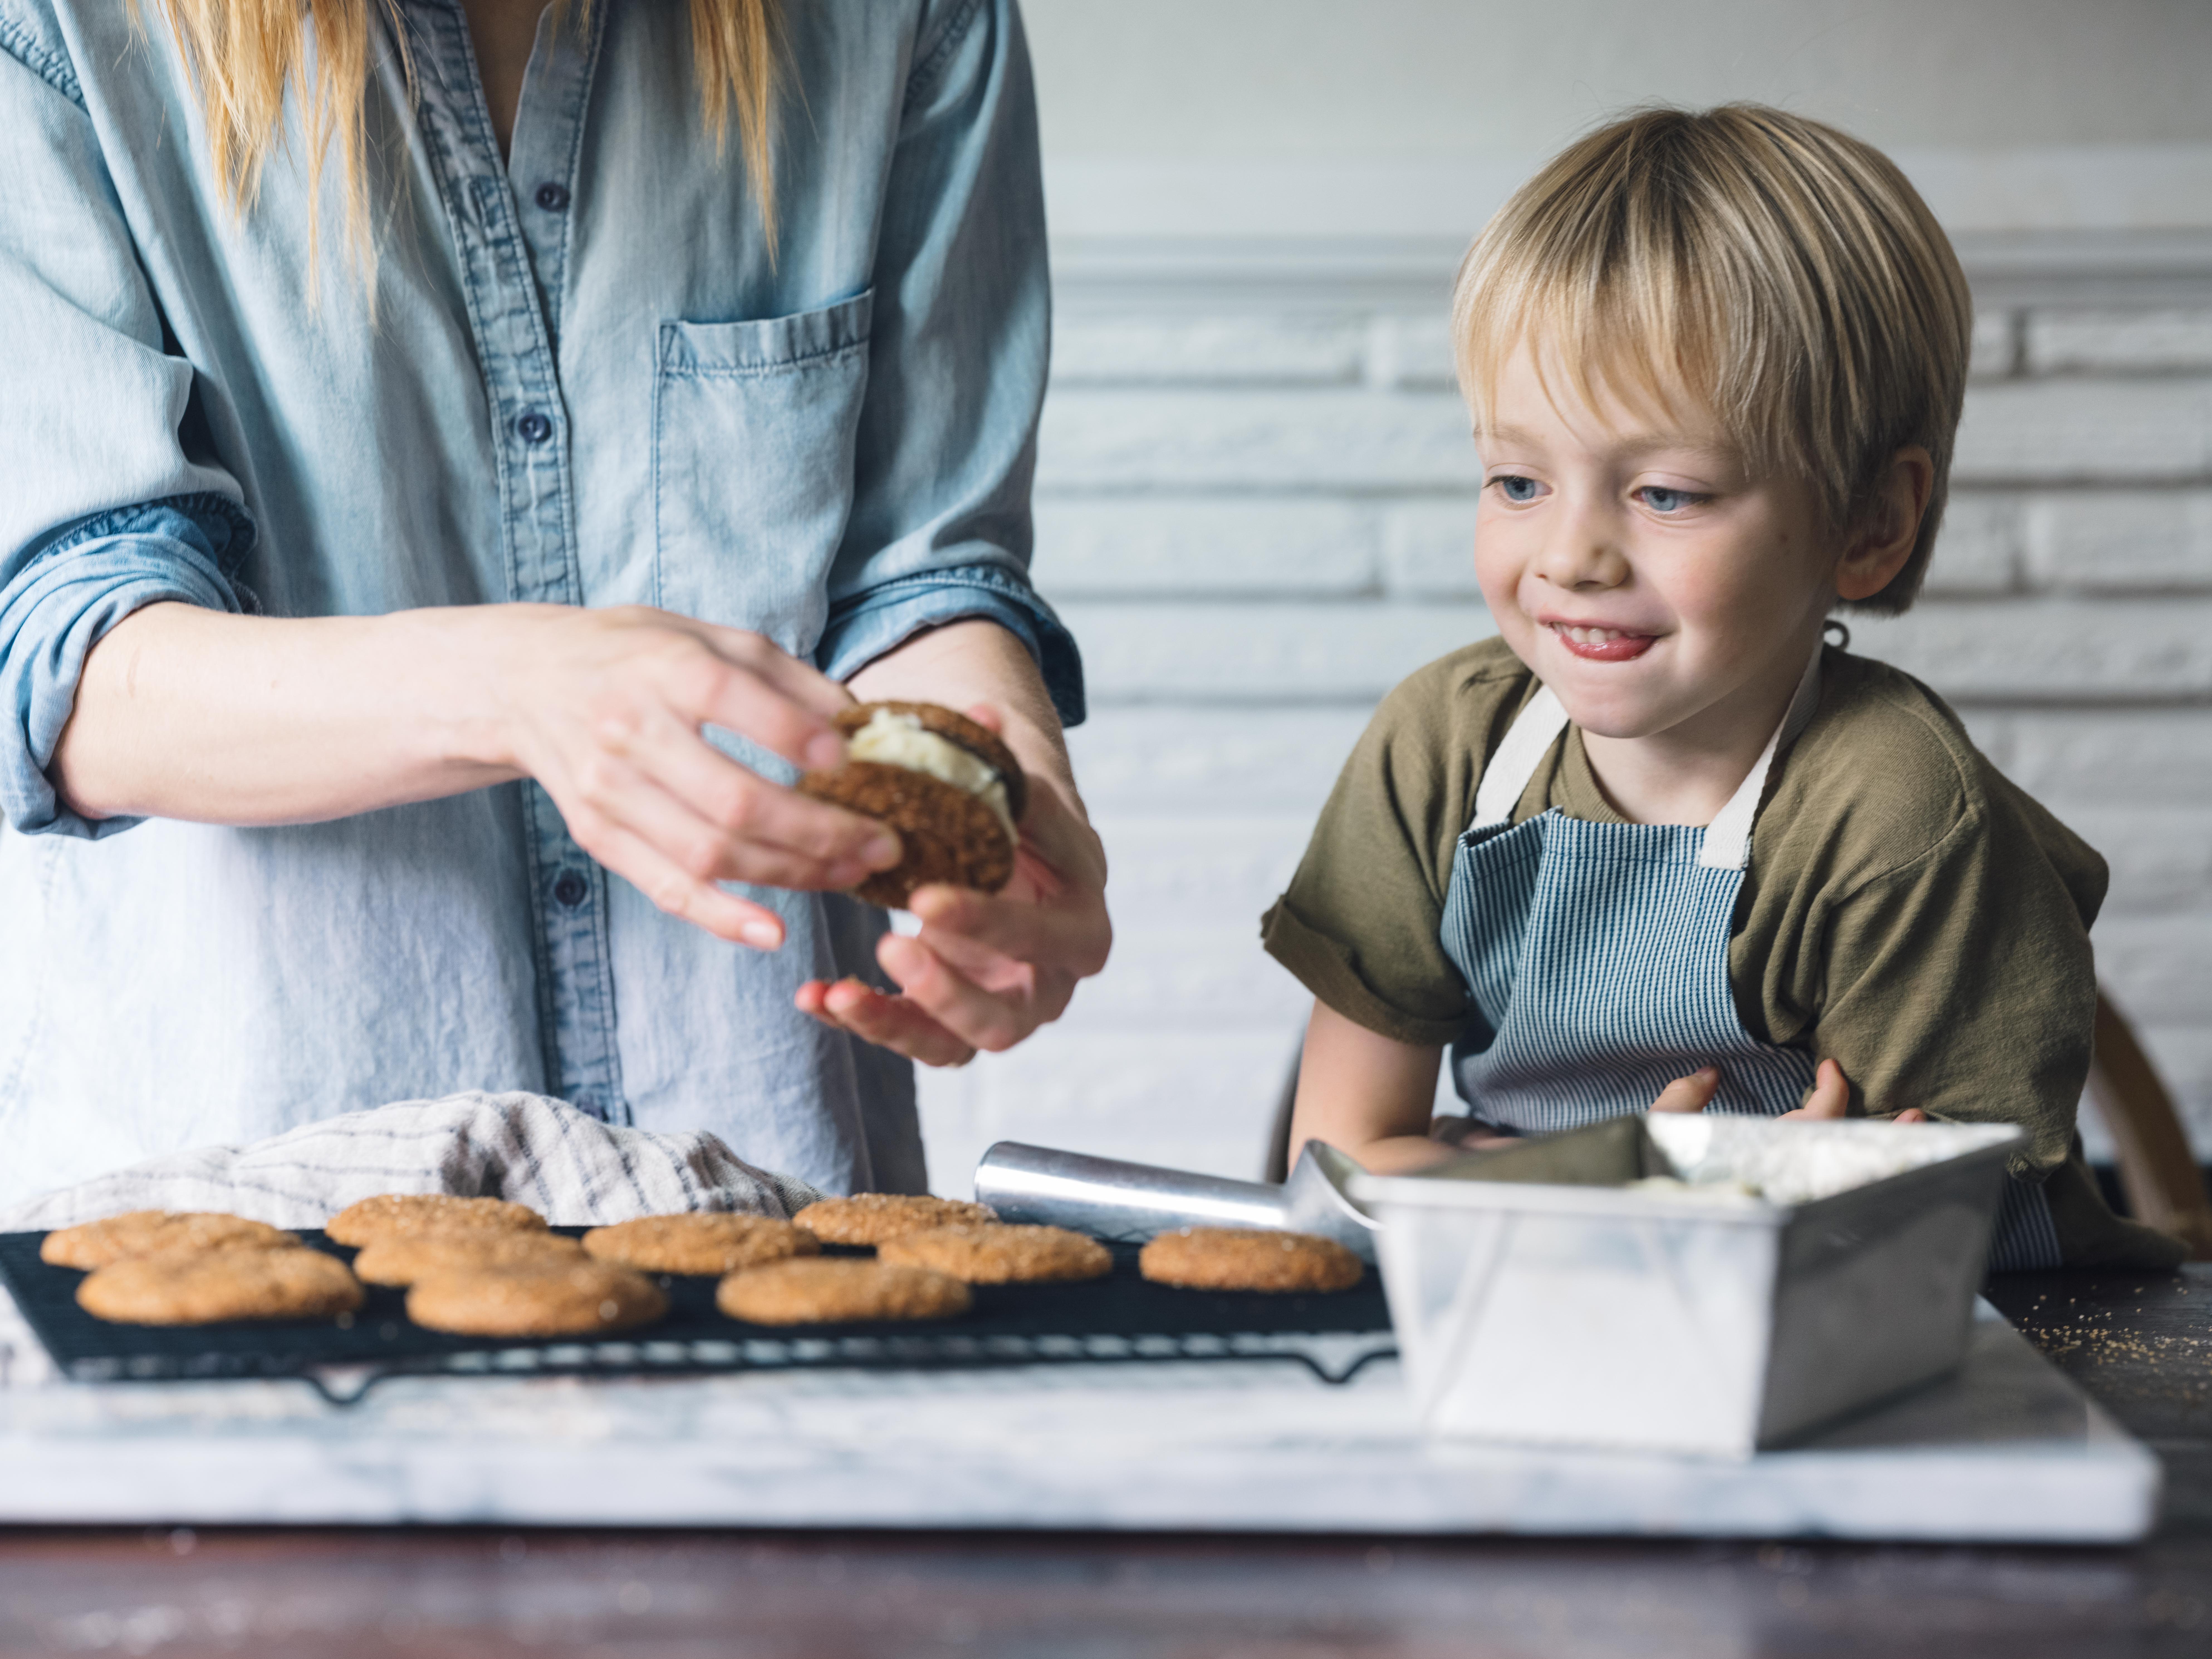
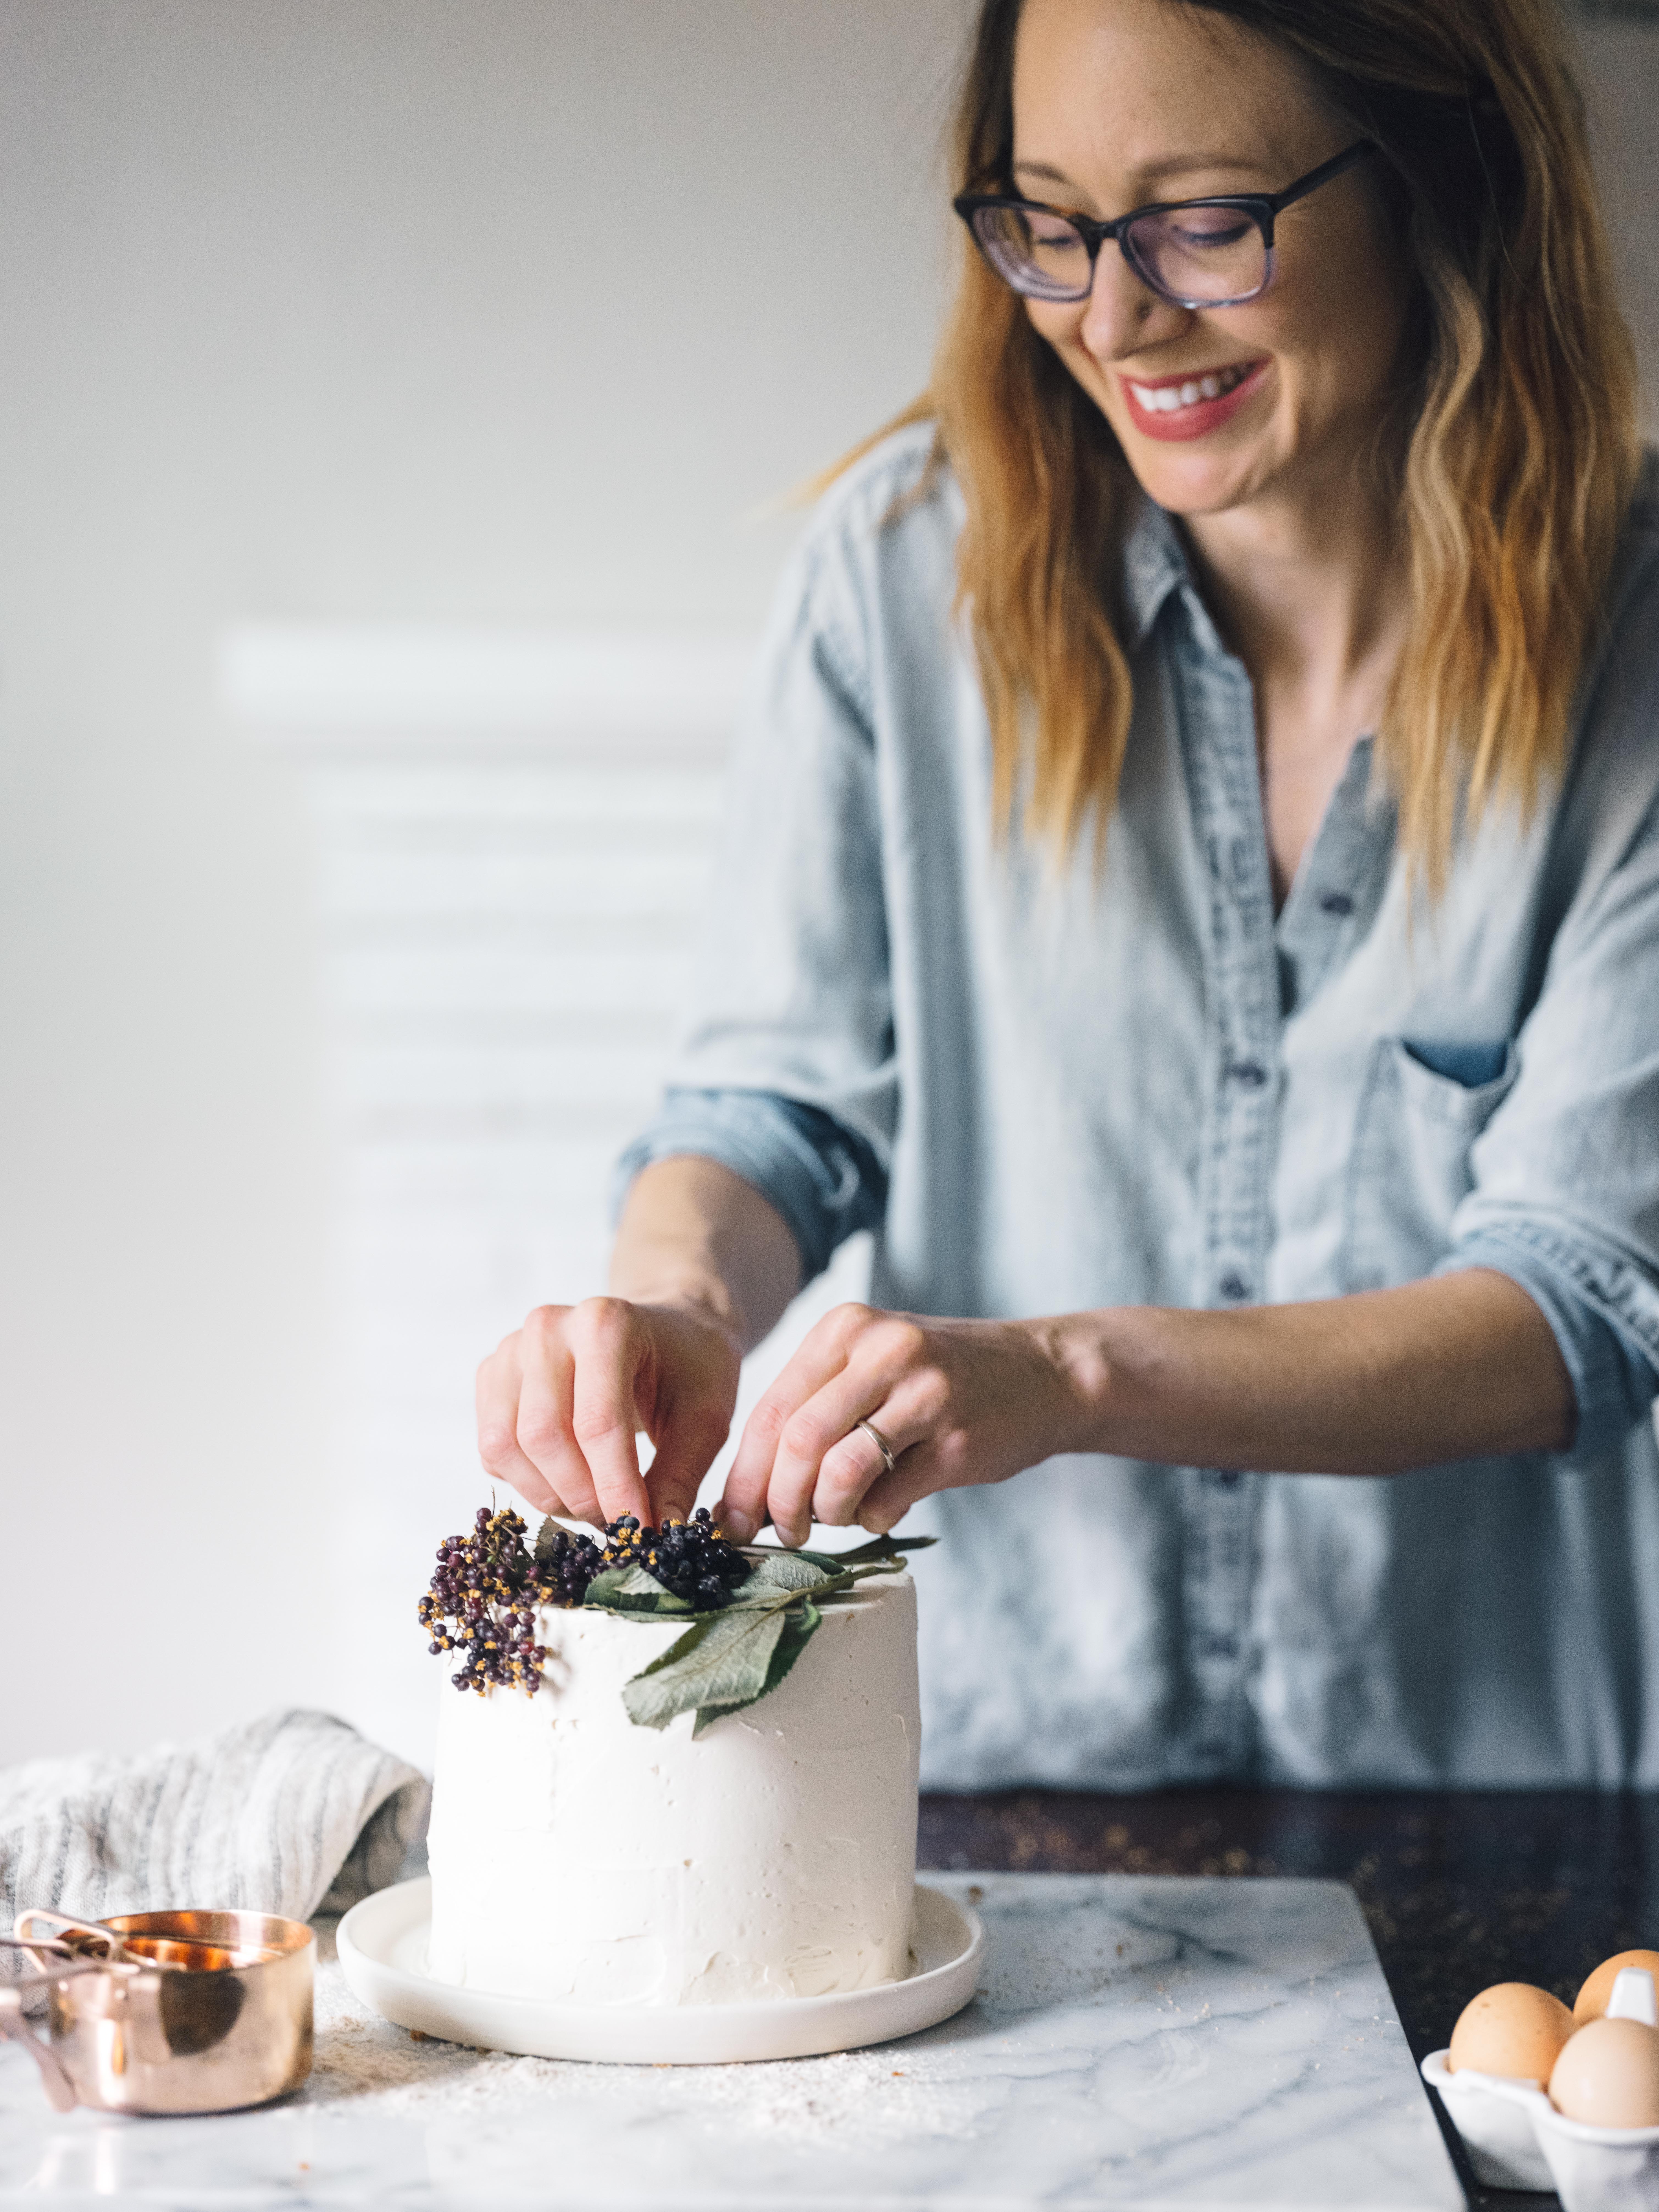
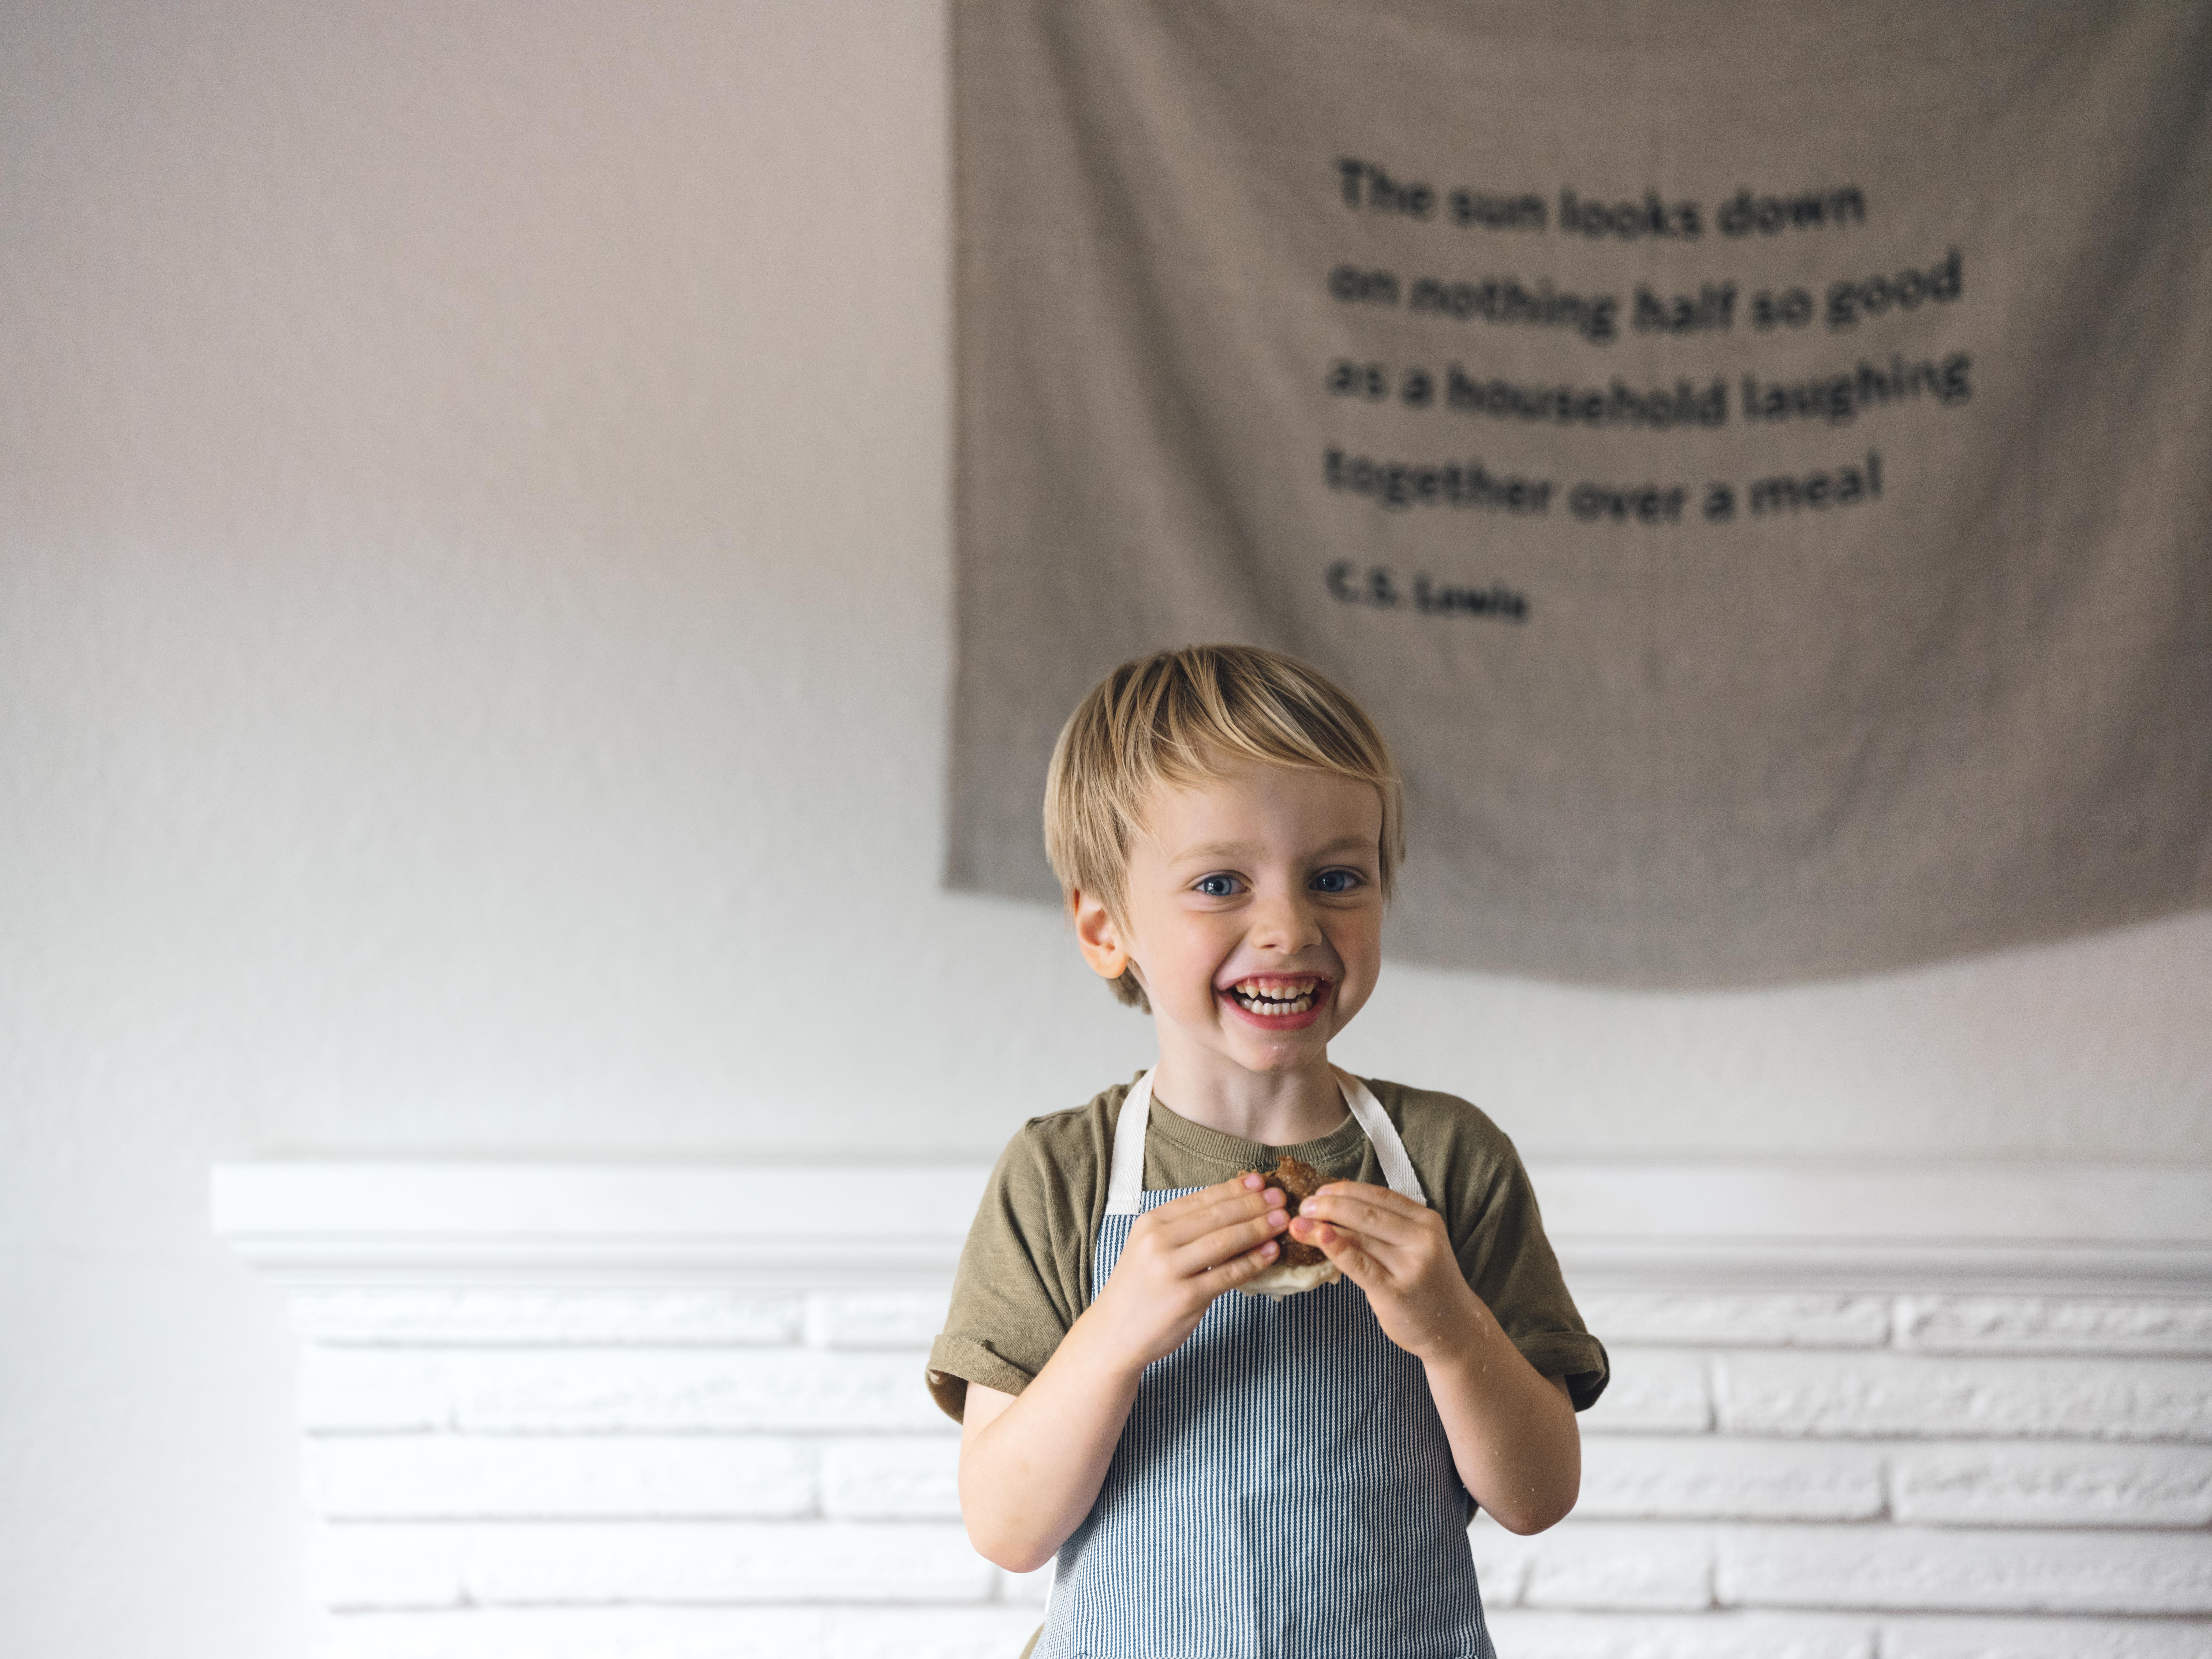
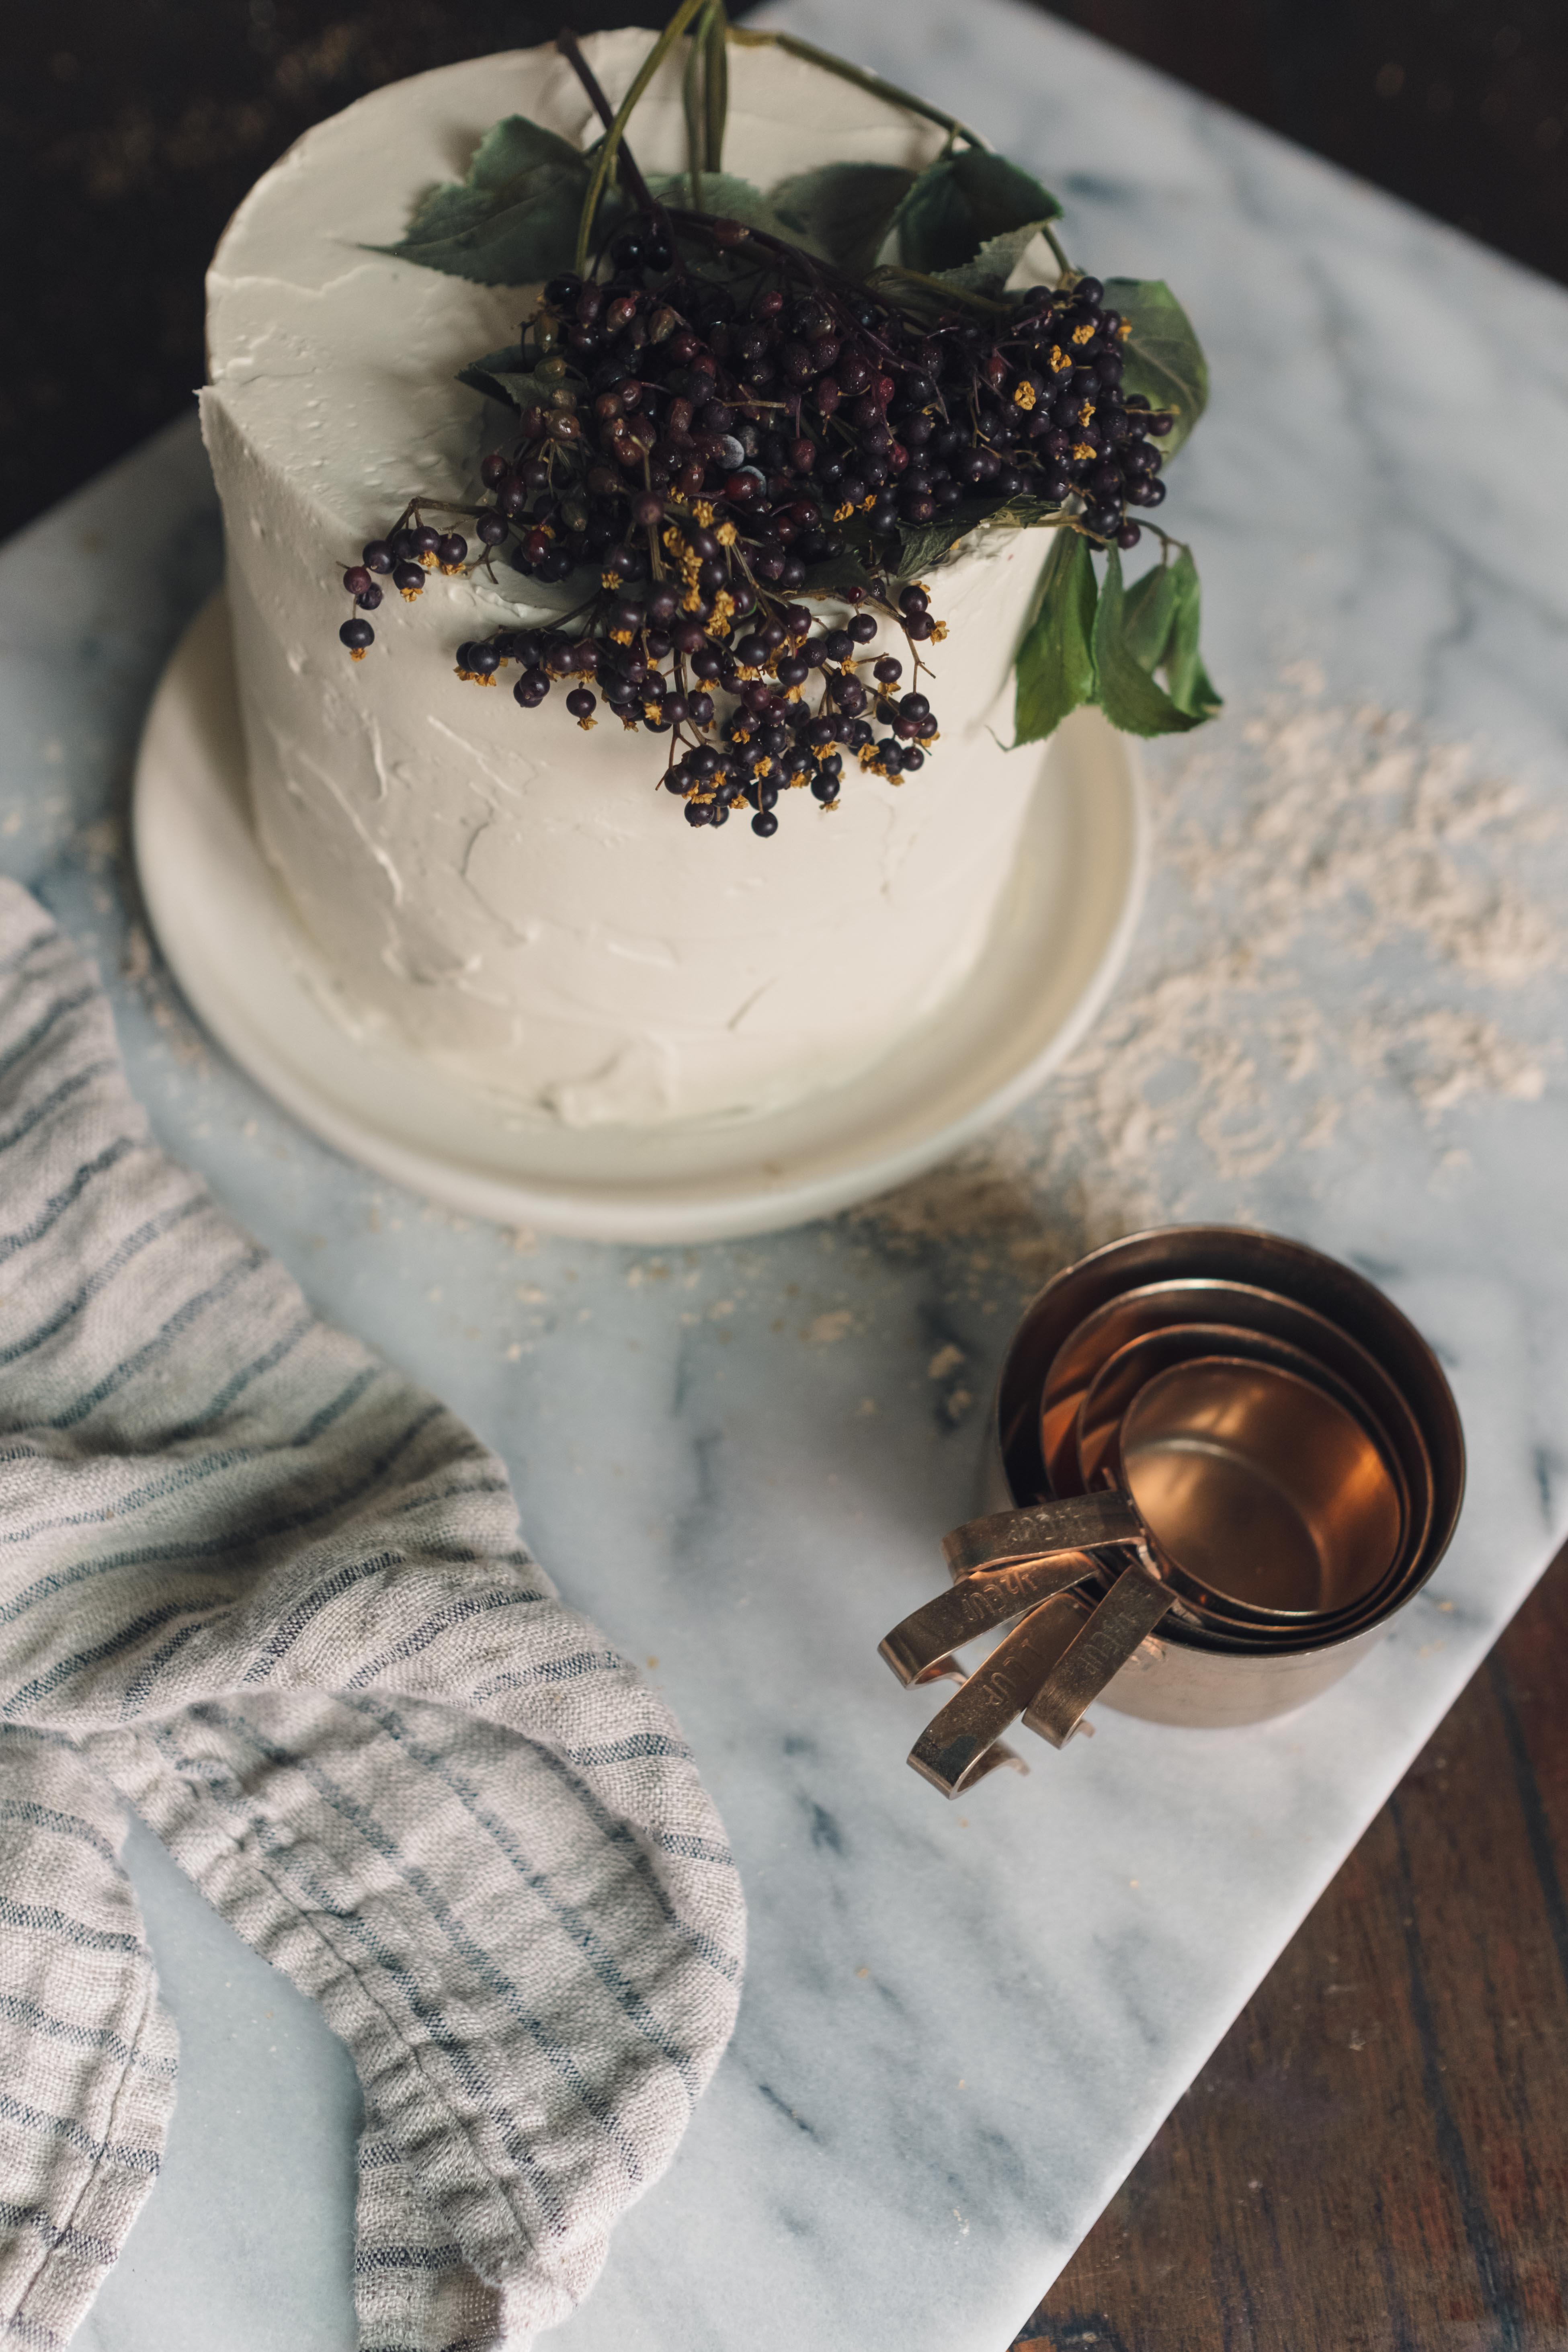
We did this shoot with the incredible Kara Mercer for Bellevue Lifestyle Magazine featuring two of my favorite holiday recipes. I’ve made a version of this pumpkin cake for years (see posts here and here) and decided to continue the tradition this year with a Gluten-Free Pumpkin Cake with Butterscotch Buttercream and Candied Pecans. I’m also sharing a recipe for Spelt and Molasses Cookies here that are delicious on their own but extra, extra delicious with homemade Ginger Ice Cream sandwiched between them. It’s also a really fun recipe to make with kids, the dough is made and chilled, then rolled in turbinado sugar that bake into the perfectly spiced, crunchy exterior with chewy interior cookie of my dreams. Although spelt flour is not gluten-free, many people (myself included!) who are sensitive to gluten can tolerate spelt’s more water-soluble, easier to digest form of gluten. It’s sweet, slightly nutty, and so perfect with molasses. Also, see photos for the reality of baking with a small child. Sugar everywhere, me looking slightly stressed out, legos on the floor….but it’s quite honestly one of my favorite things. These photos will be such a treasure when he’s too big to want to be in the kitchen with me, sticking his fingers in everything.
I feel this every year, but I cannot believe we are already in pumpkinspicedeverything holiday season. October passed in a blink, the gorgeous maple trees on our farm are dropping yellow leaves everywhere and the sense of descending into winter darkness is here. The sun doesn’t show itself until about 8 am, making my mornings slower and nights cozier. Bonfires have been a weekly occurrence on the farm, I spent our last one close to the fire with a kitten cozied up in my sweater. Did I mention we got kittens? Two little tabbies, we named them Franny and Henrietta. I’m not a cat person (like really, NOT a cat person) but these two little fluffballs curled up on my lap while I work is just the sweetest. As is watching my son drag poor Henrietta around constantly, cradlng her like a baby and singing her lullabies. True story.
If you’ve got little ones, or know some you can borrow, I hope this encourages you to get in the kitchen and make a mess together over the holidays. I promise if it’s something I can survive, you can too. My stress management threshold is pretty low, and my sweet child is super energetic, but every time I make space for him it’s so worth it. It’s something he will remember, and such a sweet tradition to carry into future holiday seasons, as busy as they might be.
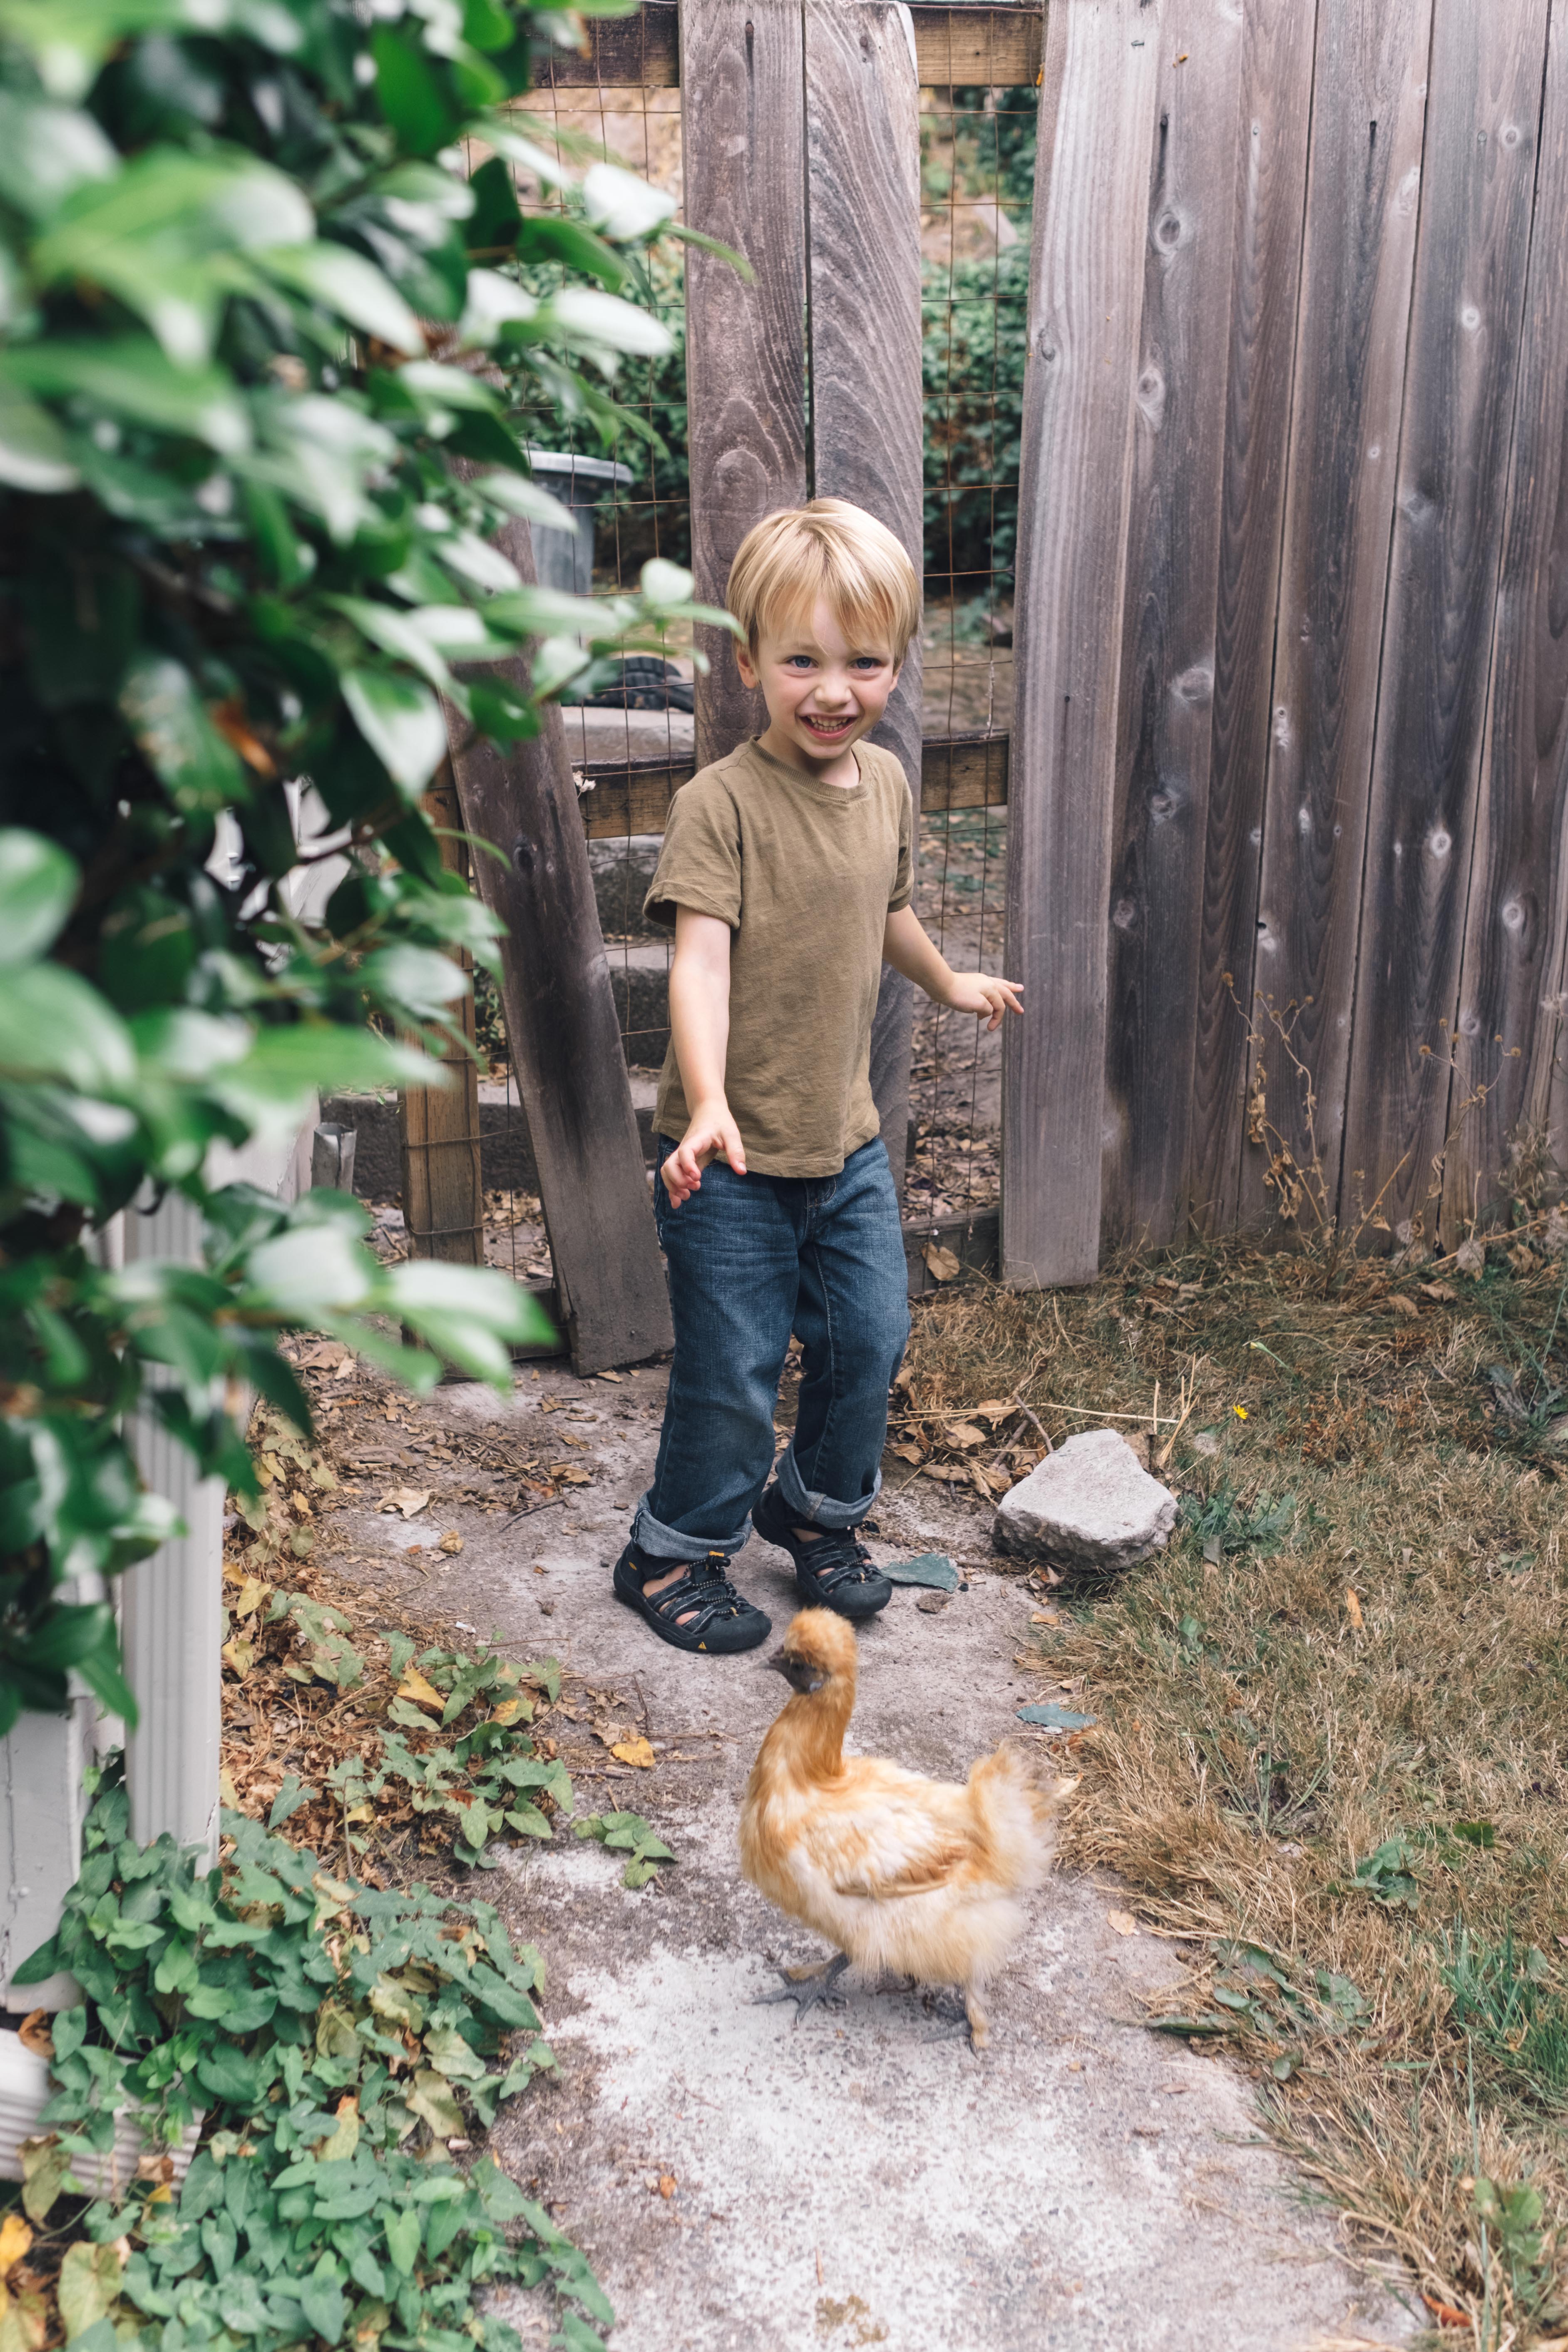
Such a huge thank-you to Kara for the gorgeous photos and Jordan (from Bellevue Lifestyle) for the super-fun day spent chasing chickens and putting ourselves in sugar comas. You can find Jordan’s sweet write up here!
sources // david’s apron // wooden pie server // cake plate
- 2 cups (400 grams) sugar
- 1 cup vegetable oil
- 4 large eggs at room temperature
- 1 teaspoon vanilla extract
- 2 cups (240 grams) gluten free 1 to 1 flour blend, such as Bob’s Red Mill or King Arthur Flour, All-purpose flour works perfectly here, as well.
- 2 teaspoons baking soda
- 1 teaspoon baking powder
- 2 teaspoons cinnamon
- ½ teaspoon ground ginger
- pinch freshly-grated nutmeg
- ½ teaspoon salt
- 2 cups pumpkin puree
- Preheat oven to 325 degrees Fahrenheit. Butter 3 x 6 inch cake pans (or 2 x 8 inch cake pans), line with rounds of parchment paper, dust with flour and tap out the excess.
- Beat the oil and sugar in a stand mixer fitted with a paddle attachment (or a handheld mixer) on medium speed for about 3 minutes, then reduce the speed and add the eggs one at a time. Beat on medium speed until combined and creamy, about 3 more minutes. Add the vanilla and mix for 30 seconds.
- Sift the dry ingredients together and add slowly, mixing on low speed just until combined. Add the pumpkin and mix by hand until smooth.
- Distribute the batter evenly in the prepared pans and bake for 20 minutes without opening the oven, then rotate the pans and bake for an additional 5-7 minutes or until a toothpick inserted in the center of the cake comes out clean. Place the pans on cooling racks for 15-20 minutes or until the pan is cool enough to handle.
- Run a sharp knife around the edges of the pans to loosen the cakes, then turn the cakes out onto the cooling racks, remove the parchment paper, and allow to come to room temperature. To assemble, level cakes if desired. I split each layer to give me a total of 6 layers, but feel free to stick with a 3 layer cake, it’ll taste just as delicious. Roughly chop the pecans. Place the first layer on a cake board or a serving plate smooth side down and spread a generous layer of buttercream on top. Sprinkle with candied pecans. Place second layer face down, gently press, and ice the top with buttercream. Sprinkle with pecans, place final layer face down and ice the top and sides of the cake. If your kitchen is warm and at any point the cake feels unsteady, pop it in the fridge for 10 minutes or so to firm up the buttercream. Decorate with flowers, fruit or more pecans and serve. Keeps well for 3-4 days, allow to come to room temperature before serving.
- butterscotch
- 1/2 cup (1 stick) unsalted butter
- 1 cup (212 grams) dark brown sugar (light brown will work as well if you have it on hand, I just love the dark, rich flavor of dark brown sugar in this butterscotch)
- 1 cup heavy cream
- 1 teaspoon flaky salt
- 3 teaspoons vanilla extract
- butterscotch buttercream
- 7 large, fresh egg whites
- 1¼ cup (198 g) granulated white sugar, superfine if you have it
- 3 sticks (1½ cup) unsalted butter, cool but not cold and cut into cubes
- 3 tsp vanilla extract
- 1 cup (cooled) butterscotch sauce
- pinch of salt
- butterscotch
- Melt the butter in a heavy-bottomed saucepan. Add the brown sugar and cream and whisk to combine. Bring to a gentle boil and cook for 5 minutes, whisking occasionally. Remove it from heat, stir in the salt and vanilla and taste, adding more salt or vanilla if desired. Pour into a jar or other heat-proof container and refrigerate.
- butterscotch buttercream
- Wipe the metal bowl of an electric stand mixer, whisk attachment and a whisk with vinegar or lemon juice and a paper towel to remove any trace of grease.
- Prepare a double boiler by filling a saucepan with 1 inch of water and bringing to a boil, then reduce to a simmer. Place a metal mixing bowl over the pot of simmering water (bowl should fit snugly but should not touch the water) and add the egg whites and sugar. Stir constantly with a whisk until the temperature reaches 140 degrees on a candy thermometer or until all the sugar has dissolved, the egg whites are hot and the mixture is foamy. Remove from heat.
- Beat egg whites and sugar on high speed until the bottom of the bowl is completely neutral, about 10 minutes. Switch to the paddle attachment and turn mixer on low speed.
- Begin slowly adding the butter pieces and mix until the texture is smooth. If the buttercream curdles, keep mixing and it'll come back together.
- Add the vanilla extract, butterscotch, and salt and mix well. You can store buttercream in the fridge in an airtight container for 3 days, or in the freezer for up to 6 weeks. If you make the buttercream in advance, bring it back to room temperature and beat it until smooth and creamy again before using.
- 1 cup (200 grams) granulated white sugar
- 1 teaspoon ground cinnamon
- 1½ teaspoons salt
- 1 egg white
- 1 tablespoon water
- 3¾-4 cups (about 1 pound) pecan halves
- Preheat the oven to 250 degrees Fahrenheit. Line a rimmed baking sheet with foil and set aside.
- In a small bowl, combine the sugar, cinnamon and salt and set aside. In a separate, medium-sized bowl, whisk together the egg white and water until foamy. Toss the pecans in the egg white mixture, then mix in the cinnamon sugar until the pecans are coated. Spread the pecans on the baking sheet and bake for about 1 hour, stirring every 15 minutes.
- ½ cup melted butter, browned* if desired (directions below)
- 2 cups spelt flour (200 grams)
- 1½ teaspoons baking powder
- ¼ teaspoon baking soda
- 1½ teaspoons ground cinnamon
- 1 teaspoon ground ginger
- ¾ teaspoon ground cardamom
- ½ teaspoon salt
- 1 large egg
- ⅓ cup (67 grams) granulated white sugar
- ¼ cup (53 grams) light brown sugar
- ⅓ cup molasses
- turbinado (or other coarse-grained sugar) for rolling the cookies
- *If you choose not to brown the butter, melted butter will work perfectly fine. I do love the nutty, toasty flavor it lends to these cookies, though! It’s definitely worth the extra effort.
- To brown the butter, place it in a saucepan over medium heat, swirling occasionally as it melts. The butter will foam as it cooks, continue swirling the pan occasionally, keeping a very close eye on it. Once the milk solids begin to brown and the butter smells toasty, remove it from heat and pour it into a heat-proof bowl, scraping the milk solids from the bottom of the pan as you pour. Allow the butter to cool.
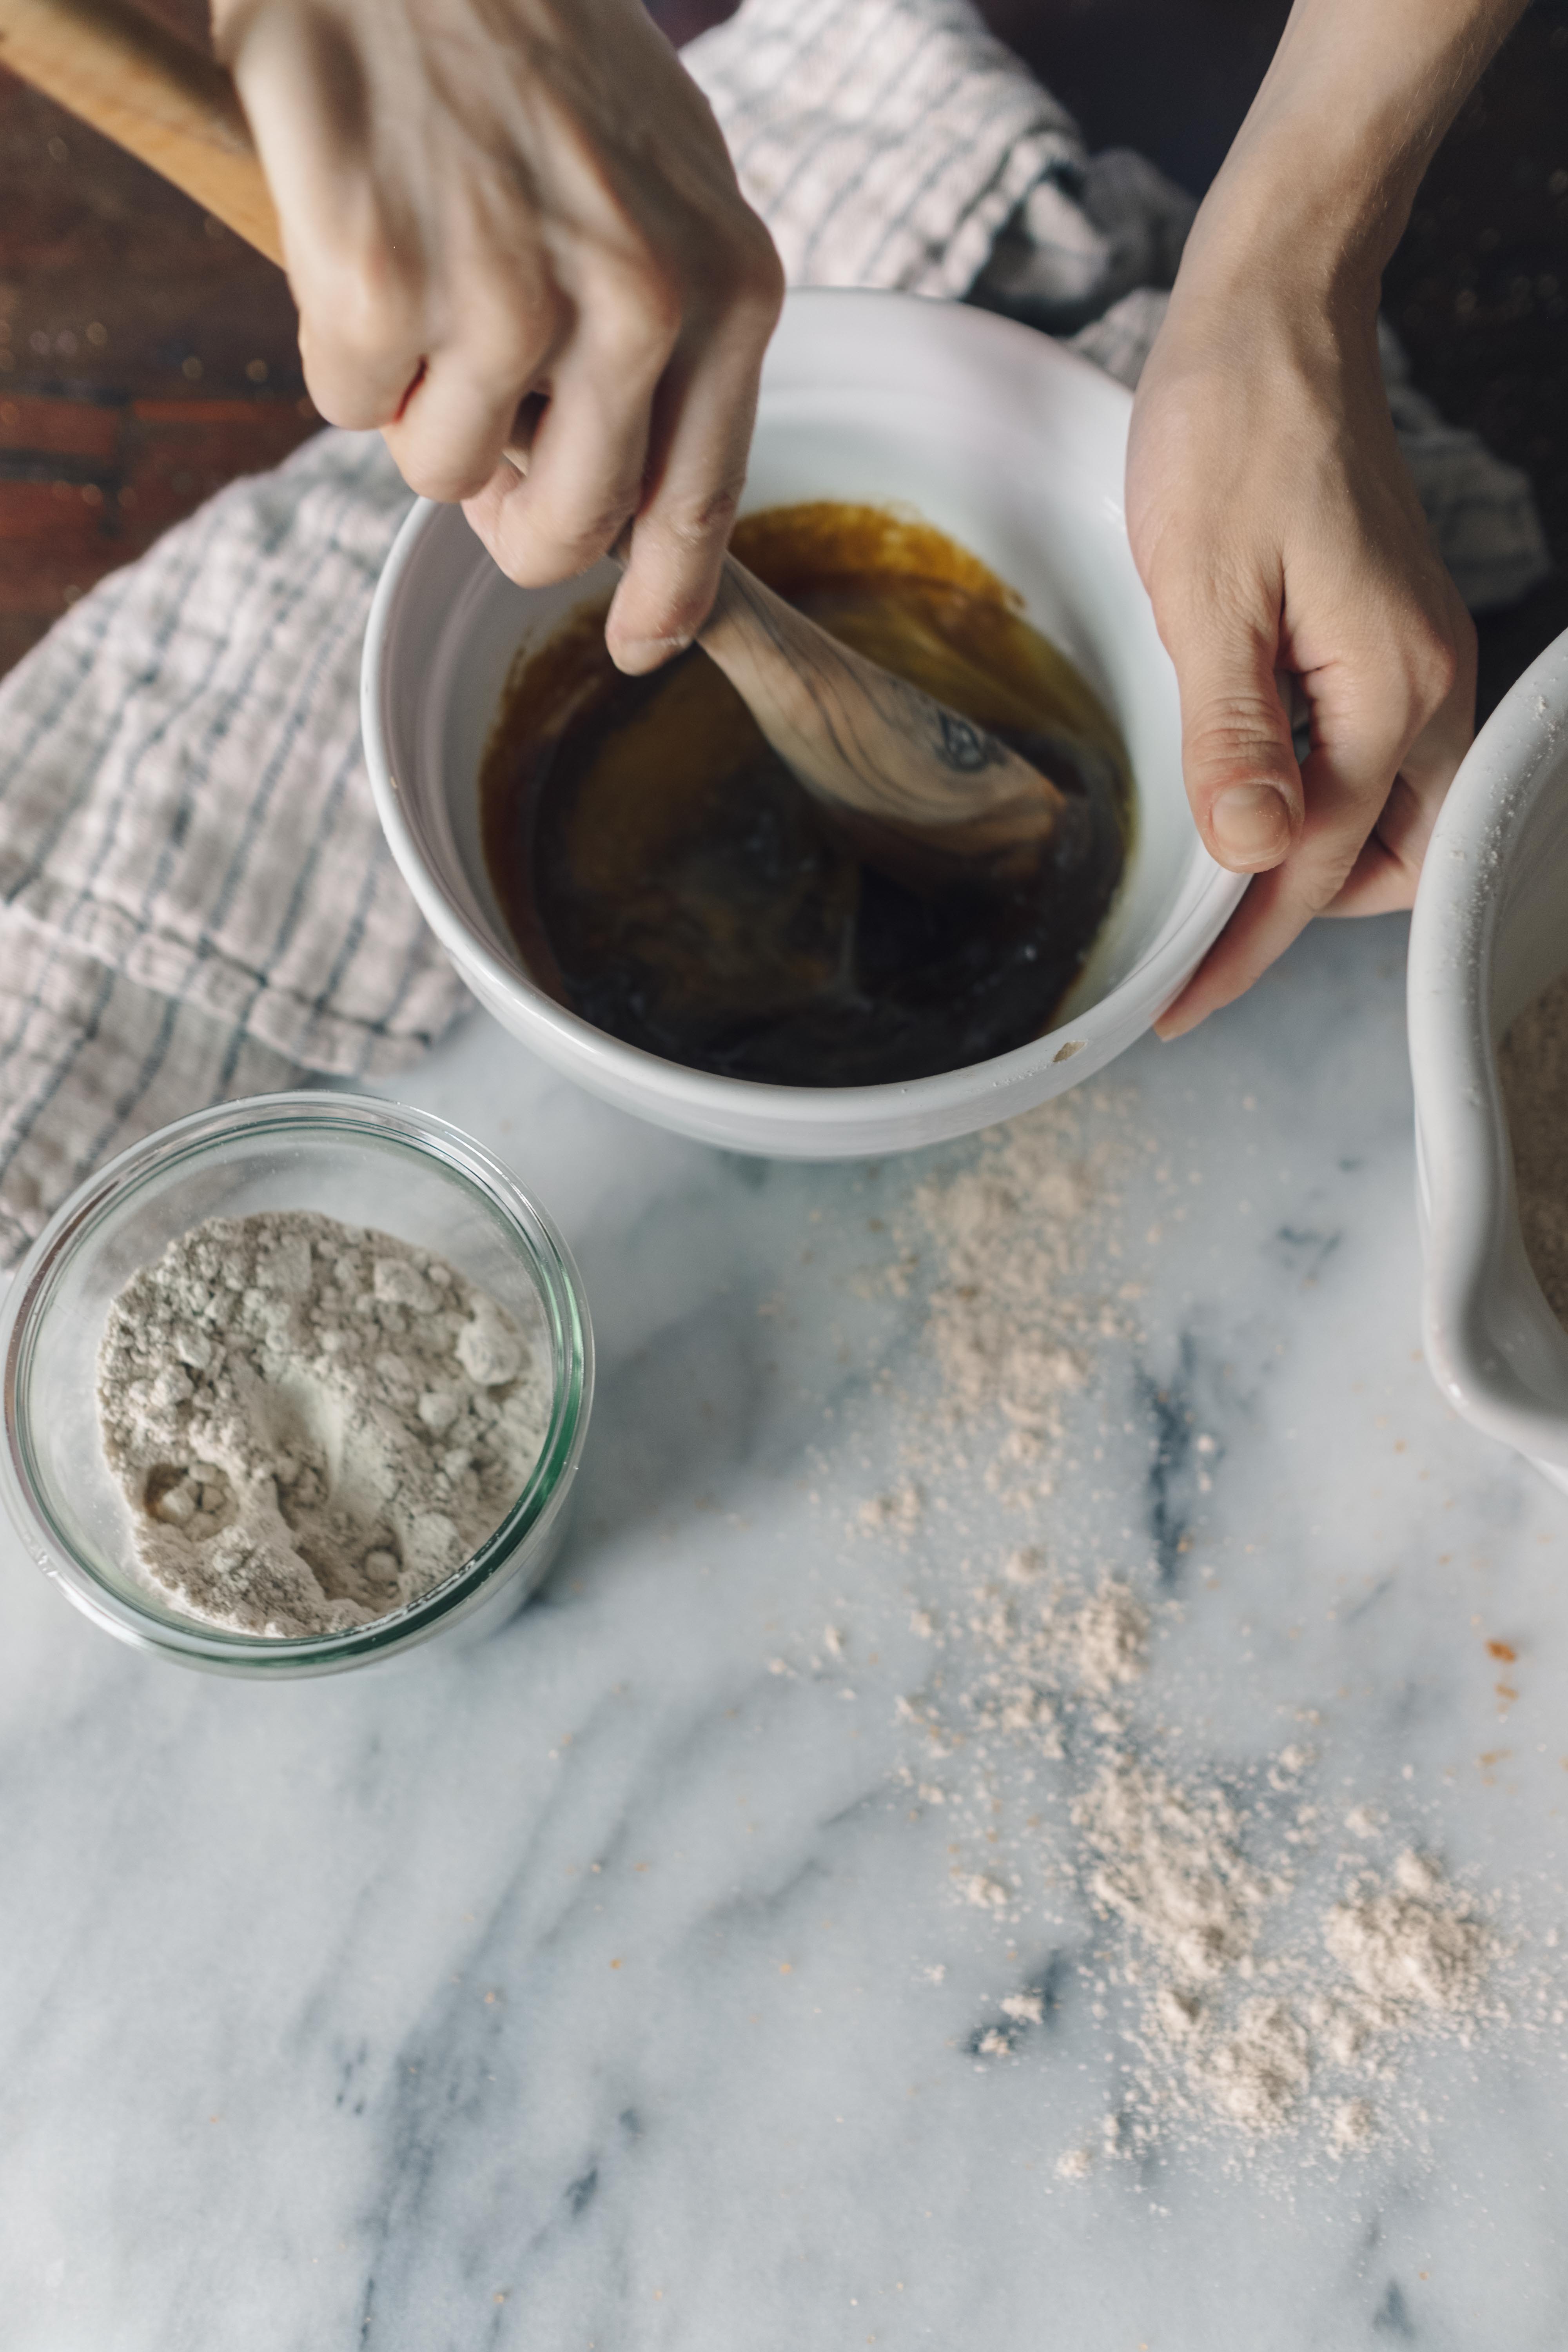
- In a large bowl, whisk together the flour, baking powder, baking soda, cinnamon, ginger, cardamom and salt. In a separate bowl, whisk the egg, white and brown sugars, and molasses. Stir in the cooled butter, then pour the wet ingredients into the dry and mix until combined. Chill the dough for at least 30 minutes or up to overnight.
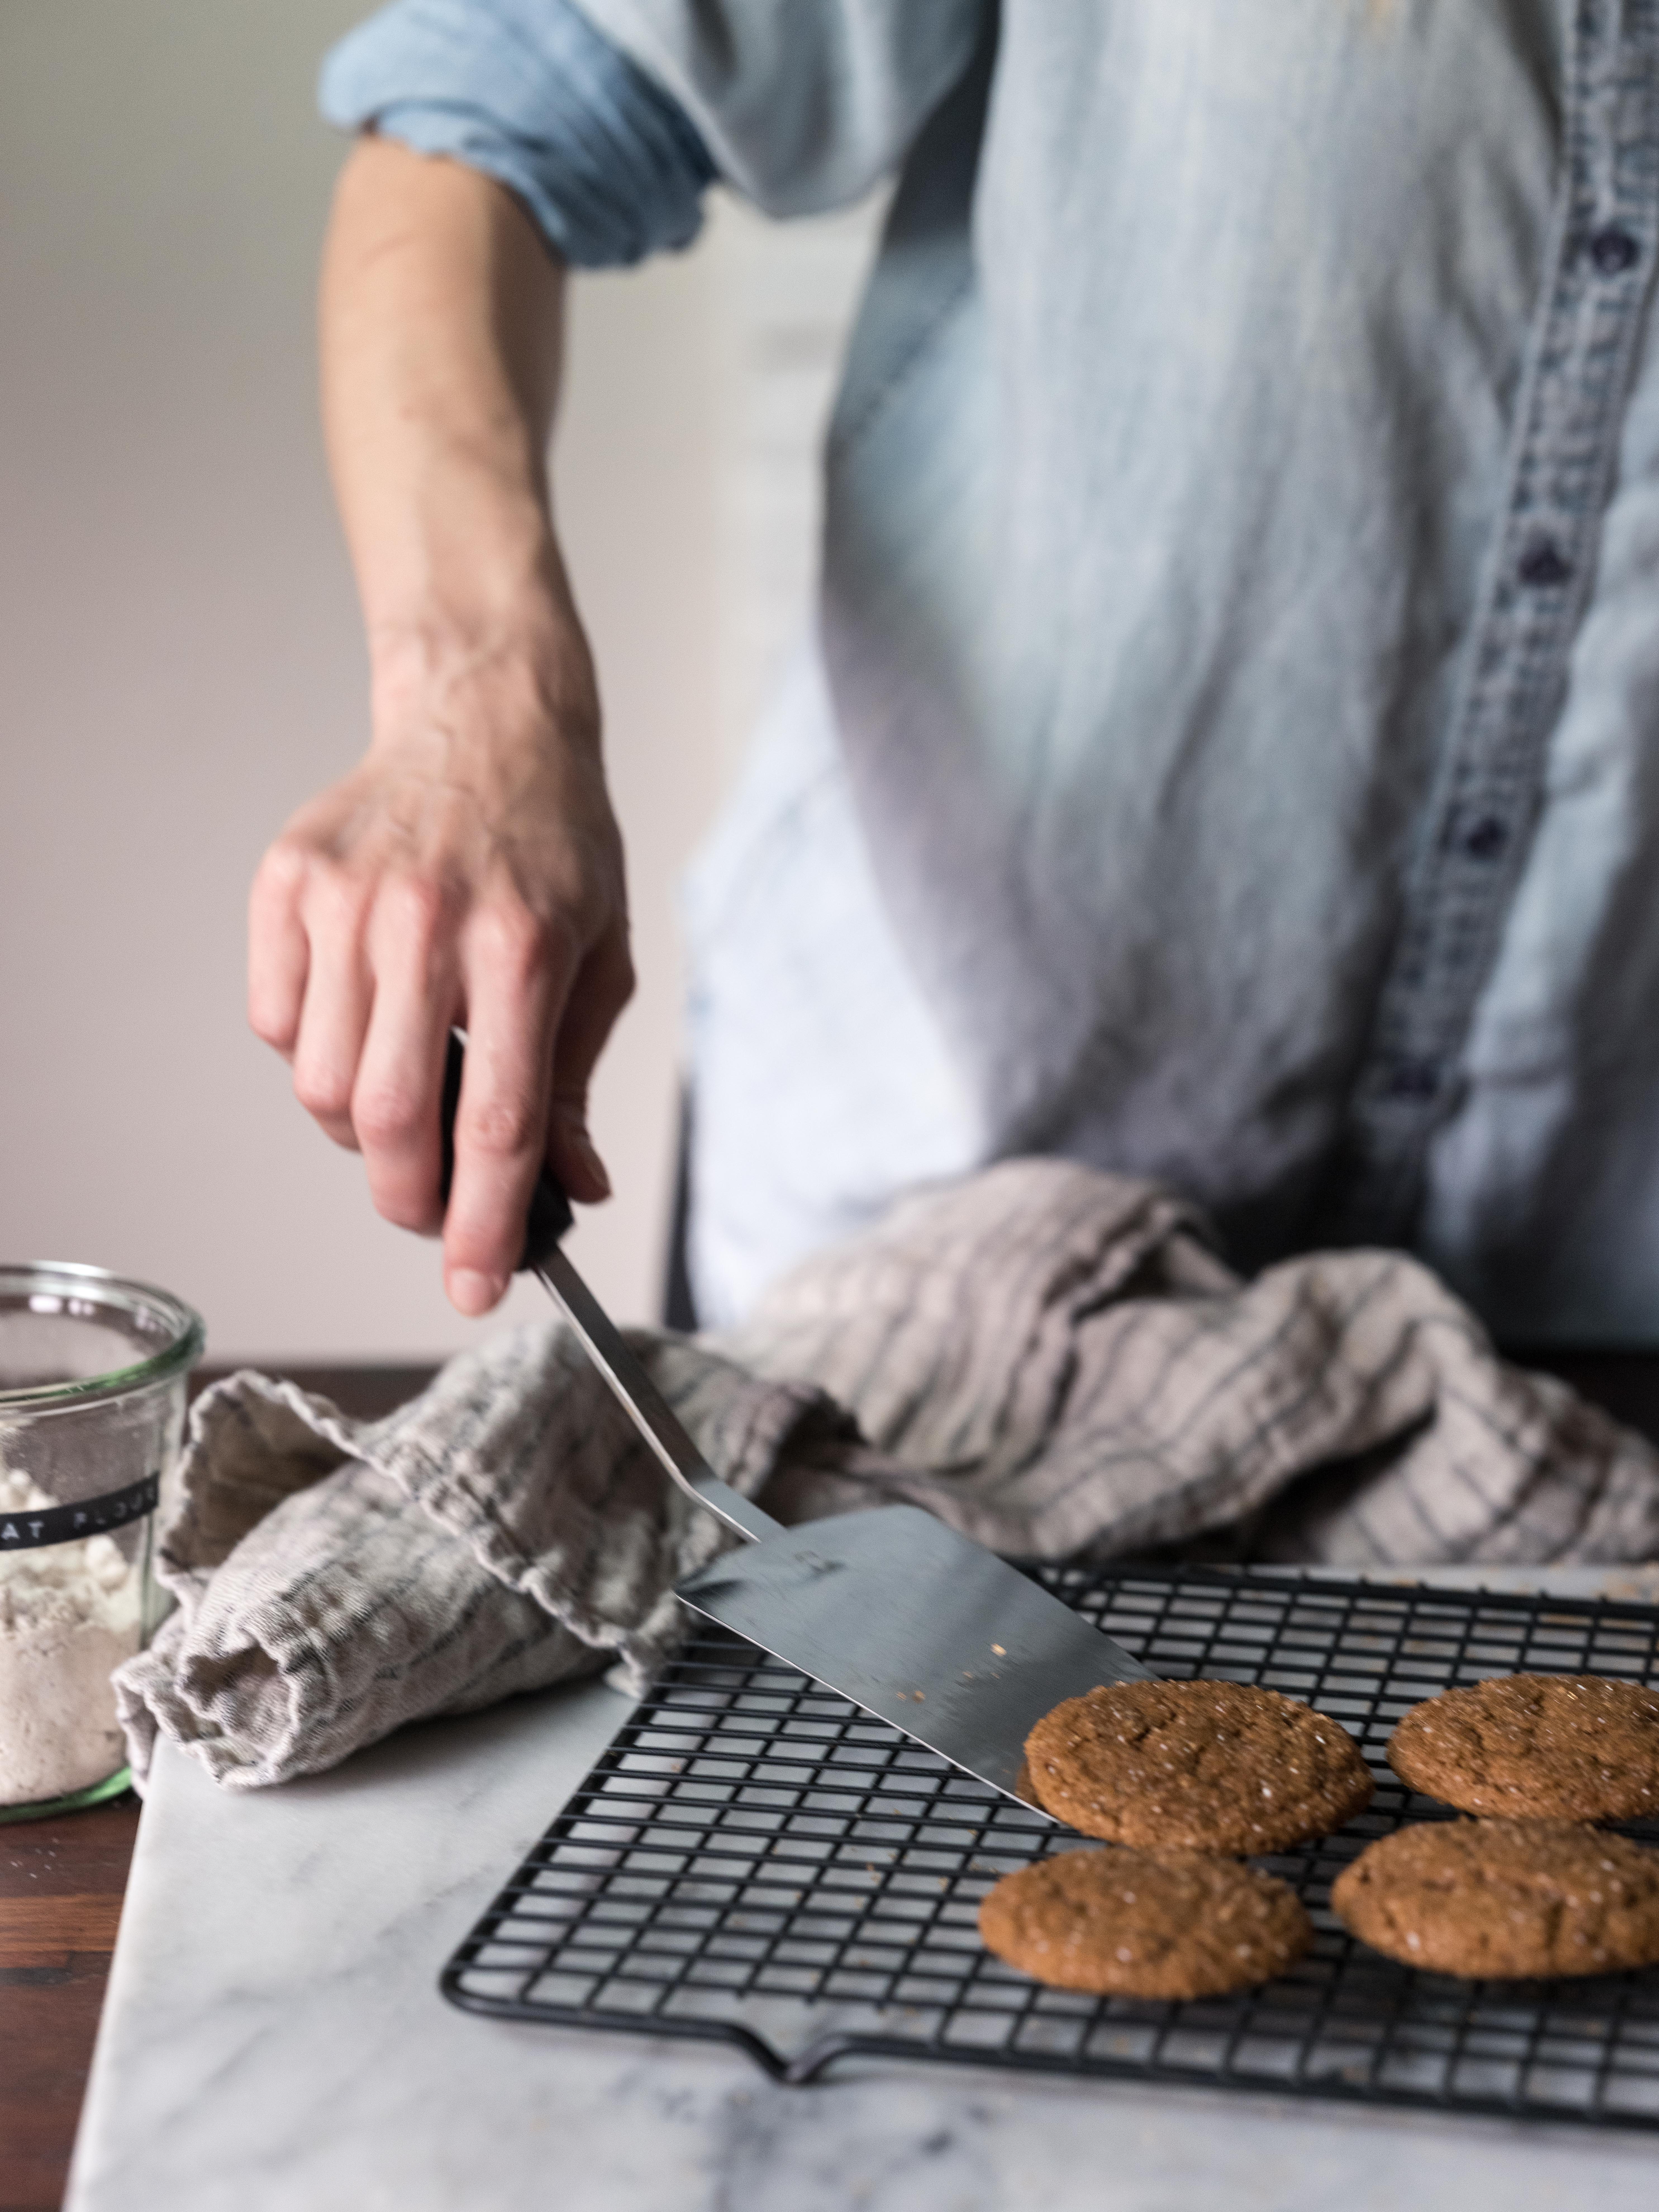
- Once the dough is chilled, preheat the oven to 375 degrees Fahrenheit. Prepare two cookie sheets by lining them with parchment paper and set aside. Taking spoonfuls of dough at a time, form the dough into balls, roll in turbinado sugar, and place on the cookie sheet 2-3 inches apart (do not flatten the cookies). Bake for 8-10 minutes. Allow the cookies to cool on the baking sheets for a few minutes, then with a spatula transfer them to cooling racks. If you’re using them for ice cream sandwiches, pop the cooling rack into the freezer once the cookies are room temperature to firm up the cookies and make them easier to fill, about 10 minutes.
- 6 tablespoons fresh grated ginger
- 3 tablespoons water
- 2¼ cups (225 grams) sugar, divided
- 3 cups heavy whipping cream
- 2 cups whole milk
- 4 whole eggs
- pinch of salt
- 2 teaspoons ground ground ginger
- 1 teaspoon vanilla extract
- 2 tablespoons ginger liqueur (optional, I used The Big O ginger liqueur)
- Combine the ginger, water and ¼ cup of sugar in a large, heavy-bottomed saucepan and bring to a gentle boil. Cook for about 5 minutes. While the ginger cooks, gently whisk the eggs with the remaining sugar and set aside. Add the heavy whipping cream and whole milk to the saucepan with the ginger, reduce the heat to medium and scald (bring it nearly to a boil, until the milk is steaming and bubbles are starting to form). Remove it from the heat and temper the eggs by pouring about a cup of the cream into the egg and sugar mixture, whisking constantly. Add the egg mixture to the saucepan, and set over medium heat. Cook, stirring constantly, until the mixture coats the back of a spoon. Stir in the salt, ground ginger and vanilla extract.
- Pour through a strainer into a heat-proof container and chill. When you’re ready to churn, add the ginger liqueur (if using), stir, and process according to your manufacturer's instructions. Freeze until solid.
- To assemble ice cream sandwiches- once your ice cream is frozen and your cookies are chilled, place a scoop of ice cream on one cookie and sandwich with the second cookie, pressing down gently. Smooth the edges with your finger if desired, wrap in plastic wrap, and freeze until ready to serve.


I love this blog! I have recently started into gluten free baking because it doesn’t give me a headache like AP does. Thank you for creating beautiful treats that are also some what healthy. I will try this recipe soon…excited!!
Thank you for the sweet note! I have a similar reaction to AP (plus general fogginess/achey joints) and love making treats to enjoy without knowing I’m going to hurt for it later, ha! Please let me know if you ever have any recipe questions, etc! Thanks again for saying hi 🙂
These look so good I can taste them! Happy feasting!
Thank you! They were delicious!